As an Amazon Associate, we earn from qualifying purchases. Some links on this site are affiliate links at no extra cost to you. Our recommendations are based on thorough research and editorial judgment.
How Creative Commons Licensing Shapes the Sharing of 3D Models Online
You just uploaded a 3D printer file and the comments ask whether someone can sell it — now you’re unsure if that’s allowed. Or you found a model you want to remix for a shop but don’t know which Creative Commons tag permits commercial sales or changes.
Most people assume a single CC label tells the whole story and overlook how each element (BY, NC, ND, SA, CC0) changes reuse, credit, and platform policy. This article will show you, in plain terms, which CC choices let others sell, remix, or require credit; which create gray areas for stores and crowdfunding; and how to pick the exact license that matches your goals.
You’ll get clear rules you can act on today. It’s simpler than it looks.
Key Takeaways
Here’s what actually happens when you pick a Creative Commons license for your 3D model: it changes who can sell, edit, or just repost your files, and that affects how widely your work spreads.
Why this matters: licensing controls whether others can build on and monetize your model.
– CC licenses decide if someone can sell your model, edit it, or only redistribute the exact file.
Example: if you publish a game-ready helmet under CC BY, a modder can texture it differently and sell a helmet pack while still crediting you.
NoDerivatives (ND) stops edits but allows sharing of the original file.
Why this matters: ND preserves your exact design and prevents modified copies.
Steps to apply ND to one model:
- Pick the CC BY-ND option on the upload page.
- Add a line in LICENSE.txt: “This file is CC BY-ND 4.0 — no derivatives.”
- Show a thumbnail of the exact model in uploads and previews.
Example: a printable figurine posted with BY-ND stays identical when others redistribute it.
ShareAlike (SA) forces derivatives to keep the same open license.
Why this matters: SA makes sure improvements remain open for everyone.
Steps to use SA:
- Choose CC BY-SA when you upload.
- Put a README note: “Derivatives must use CC BY-SA 4.0.”
- If you get a collaborator, add them to a CONTRIBUTORS.txt file.
Example: you release a railway car model under BY-SA; someone fixes the wheel and must publish the fix under BY-SA too.
NonCommercial (NC) blocks commercial use but can be vague without definitions.
Why this matters: NC can stop both big and small sellers, and confusion causes lost opportunities.
Steps to clarify NC:
- Choose CC BY-NC if you want no commercial reuse.
- In README, define “commercial” clearly, e.g., “selling, licensing, or bundling in paid products.”
- Provide a contact email for commercial license requests.
Example: a designer posts furniture under BY-NC and lists “contact: [email protected] for commercial quotes.”
Proper attribution makes sure you get credit no matter where the file goes.
Why this matters: attribution preserves your name and license information across redistributions.
Steps to ensure attribution:
- Add a one-line credit under the model title: “Model by Your Name — CC BY 4.0.”
- Include a LICENSE.txt with the full CC deed and license link.
- Put the same credit in README and in the file metadata (e.g., OBJ/GLTF author field).
Example: a user downloads your spaceship, bundles it in a scene, and the scene still lists “Model by Your Name — CC BY 4.0” in the credits file.
Final quick checklist you can copy-paste into any upload:
- Chosen license line (e.g., “CC BY-SA 4.0”).
- One-line credit under title.
- LICENSE.txt with CC link.
- README with usage rules and contact email.
- Metadata author field filled.
Use that checklist and your license will behave the way you expect.
Which CC License Should I Use for a 3D Model?
Before you share a 3D model, you should know how the license will shape reuse because it decides who can sell, change, or claim your work.
If you want to share a 3D model and keep some control over how others use it, pick a Creative Commons license that matches your goals, because each license sets clear rules about attribution, modification, and commercial use. I’d first ask whether you want others to modify your design, and whether commercial use is acceptable, because answers narrow choices quickly. For strict no-change sharing, a NoDerivatives (ND) term blocks edits, while a ShareAlike (SA) term lets derivatives but keeps the same license. NonCommercial (NC) limits sales, though it can complicate reuse for things like crowdfunding or remixing. Think about attribution requirements, and how attribution travels from files to printed objects; for example, include a simple text file with the creator name, license link, and year inside the downloaded ZIP so anyone who prints a figurine can reproduce the credit. Also consider license policing realities and local community norms, since enforcement and expectations shape how your work will actually be reused.
Why this matters: if you want a specific outcome, the license is your tool.
Example: you release a 3D helmet file under CC BY-SA; a cosplayer 3D-prints it and sells replicas at conventions, but they must give you credit and use the same license for any modified files they share.
If you want people to remix freely, choose CC BY or CC BY-SA. These let others edit, sell, and build on your work as long as they credit you; BY-SA also forces them to publish their source files under the same license. Pick BY if you want broad reuse with simple credit, and BY-SA if you want derivatives to remain open.
Step-by-step for allowing remixes:
- Choose CC BY or CC BY-SA.
- Put a LICENSE.txt in the download with: your name, year, and the exact CC license link.
- Add a README that says whether you’re sharing source files (STL, OBJ) or just printable exports.
- If you want credit to carry onto physical prints, specify exact wording—e.g., “Credit: Jane Doe / CC BY-SA 4.0” —and include it in the README.
If you want to stop edits, use NoDerivatives. This prevents others from sharing modified files under that same license, which keeps your design intact but blocks collaborative improvement.
Concrete example: a sculptor publishes a detailed bust as CC BY-ND; fans can print and sell copies but cannot upload altered meshes or improved versions.
If you want to prevent commercial reuse, add NonCommercial—but know it causes problems for downstream users because “commercial” can be murky. Crowdfunded projects, shops that print on demand, or community makerspaces may all fall into gray areas. Be specific in your README about what you consider commercial to reduce confusion.
Actionable checklist to avoid headaches:
- Pick your license (BY, BY-SA, BY-NC, BY-NC-SA, BY-ND, etc.).
- Add LICENSE.txt with an explicit CC version and link.
- Add README.md with: acceptable uses, required credit text, file list, and contact email.
- Embed a short credit file inside 3D archives so it’s hard to lose.
- If you want policing, decide how you’ll enforce reuse and state that in the README.
Final note: community norms matter as much as the license; on some platforms, people expect BY-SA, while in paid marketplaces NC is common—check one popular site where you’ll post and match its expectations.
Recommended Products

Precise Fit, Vehicle-Specific:Custom-tailored for Tesla Model Y (2020-2024) and Model 3 (2017-2023), perfectly matching the body curvature and grille structure. Note: Not compatible with 2024 Tesla Model 3.

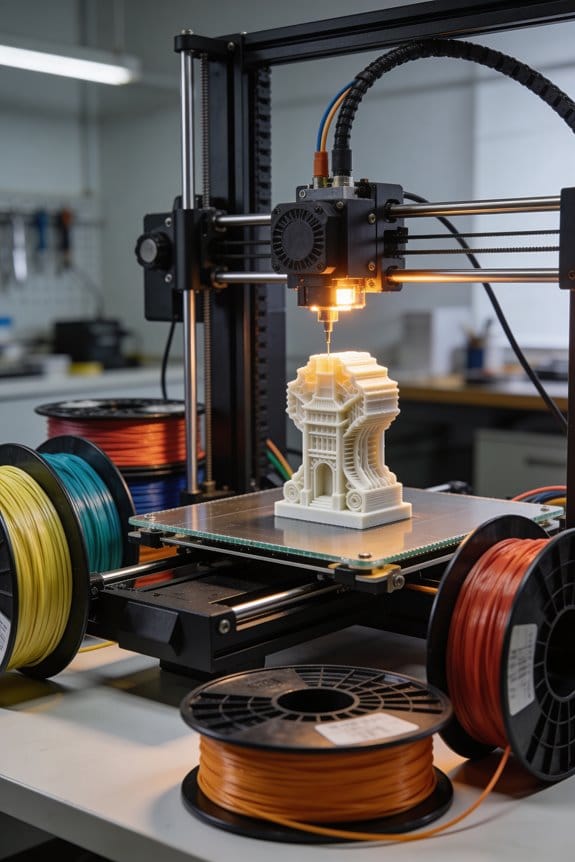
Figure perfectly sculpted and replicated
Creative Commons Licenses for 3D Models (Quick Overview)
Before you pick a license, know why it matters: your choice controls who can print, sell, or change your 3D model. Think of a detailed cosplay helmet you modeled for a convention and uploaded: if you want fans to modify and sell it, you need a different license than if you only want people to admire it.
Here’s what actually happens when you choose BY versus BY-ND: BY (Attribution) lets anyone copy, modify, and sell your model as long as they credit you. Example: Someone downloads your sword model, tweaks the hilt, credits you in the model description and sells prints at a craft fair. If you prefer no changes, pick BY-ND (NoDerivatives), which allows redistribution but not edits; someone can sell exact prints but can’t change the geometry.
If you’ve ever worried about people selling your work without credit, this is why BY-NC exists: it forbids commercial use, so hobbyists can print and trade, but shops can’t sell your design. Example: A local maker space prints your planter and gives it away, that’s okay; a store listing the same planter for $30 violates BY-NC.
The difference between CC0 and Public Domain Mark comes down to legal certainty: CC0 is you actively waiving rights worldwide, while Public Domain Mark signals the work is already free of known copyright. Example: You upload an old ornamental pattern you traced from a 1905 photograph and mark it CC0 to remove doubts so designers can reuse it freely.
Before you require ShareAlike, know what it forces: ShareAlike makes derivatives carry the same license, which keeps forks open but can block commercial partnerships. Example: A company wants to bundle your ShareAlike model into a paid kit — they must release their modified files under the same terms, which often stops deals.
Why attribution matters for 3D specifically: printed objects hide source files, so you need a clear, short credit line and a URL. Do this: 1) Add a one-line credit to your model page (example: “Model by YourName — CC BY 4.0”); 2) Put a README in the zip with the same line; 3) Include a tiny text tag or QR code on a printable label if you want credits to stay with physical prints. These steps make it practical to follow the license.
How to pick in three concrete steps:
1) Decide whether you allow commercial use. If yes, choose BY or CC0; if no, choose BY-NC.
2) Decide whether you allow derivatives. If you don’t, choose BY-ND; if you want modifications shared back, choose BY-SA.
3) Apply the license clearly: add the one-line credit on the model page, include a README, and optionally add a printable label with a QR code.
Example: You want people to build on your drone frame but not sell closed-source products. Choose BY-SA, add “Model by YourName — CC BY-SA 4.0” to the page, include a README, and add a 1×1 cm QR label that links to the license.
Final practical tip: if you want maximum reuse, pick CC0 and include a short credit request like “If you reuse, please credit YourName” — it’s not legally required, but people often follow polite requests.
How Licenses Affect Reuse: Commercial Use, Derivatives, ShareAlike
Think of licenses like a menu of rights you choose from before you share your 3D files.
Why it matters: your choice controls who can sell, change, or require the same license for anything made from your model. For example, a maker selling a modified model on an Etsy listing shows how license choices affect income and reuse.
1) Do you want commercial use?
Why it matters: this decides whether businesses can sell prints or designs made from your file.
Example: a local print shop prints your lamp design and lists it for $60 on their website, using your model as-is.
Steps to decide:
- If you want to let shops sell prints, pick a license that allows commercial use (no NC).
- If you want to prevent others from profiting, choose NonCommercial (NC).
- If you want revenue but want control, allow commercial use and add a short note requiring attribution and a link to your store.
2) Should you allow derivatives?
Why it matters: allowing derivatives lets people remix and improve your model, which can create better versions or new products.
Example: another designer fixes the base of your toy figure, adds articulation, and uploads a new version that sells better.
Steps to decide:
- If you want community improvements, allow derivatives (no ND).
- If you only want exact copies distributed, choose NoDerivatives (ND).
- If you allow derivatives but want copies to remain open, use ShareAlike (see next section).
3) Do you require ShareAlike for derivatives?
Why it matters: ShareAlike makes sure derivatives use the same license, keeping future versions open for everyone.
Example: a school modifies your educational model under ShareAlike and shares the updated classroom-ready files under the same license so other teachers can use them.
Steps to decide:
- If you want to ensure downstream openness, add ShareAlike (SA).
- If you want commercial reuse without forcing the same license on others, don’t add SA.
- If you want both commercial reuse and openness, allow commercial use and add SA, then state how you want attribution handled.
Attribution: tell people exactly how to credit you.
Why it matters: clear credit increases your visibility and prevents disputes.
Example: include this short line in your model description: “Credit: Your Name — model file URL — CC BY 4.0.”
Steps to decide:
- Write a single-sentence credit you require (name, URL, license).
- Put that sentence in the file description and inside an included README.txt.
- If you want extra visibility, ask that sellers include your handle and a link to your shop in product listings.
Quick checklist before you publish:
Why it matters: a checklist prevents accidental restrictions or loopholes.
Example: treat this like a pre-launch QA for a new product listing.
Steps to follow:
- Decide commercial vs noncommercial.
- Decide derivatives vs no derivatives.
- Decide whether to require ShareAlike.
- Write one-sentence attribution and add to README.
If you follow these steps, you’ll control how your work spreads and whether others can profit from it.
Recommended Products
Compatibility: It's a design made to fit all Makes and Models ( Auto Car Sedan Truck Van SUV Hatchback Crossover Pickup Coupe Convertible Wagon Golf Cart Vehicle ) with the Flat Shape of the Bumpers. It won't work on Curved Spots of the Bumper or V-shaped Bumpers! You can mount it on the left or right side of the bumper too. This is not an OEM bracket.
Advanced 6 degrees-of-freedom optical sensor

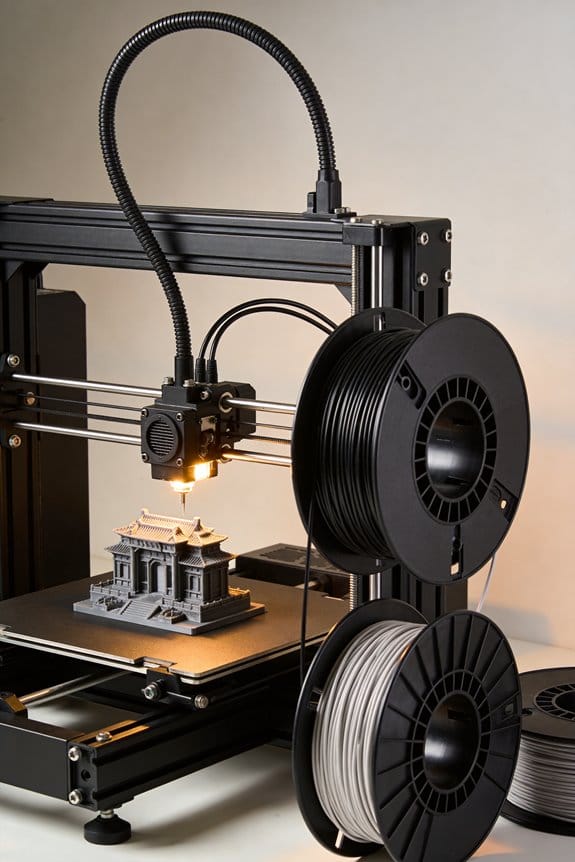
Take your game to the next level! Immerse your miniatures in an eye-catching battlefield or role-playing adventure landscape with highly detailed EnderToys Terrain.
When CC Doesn’t Apply to a Model (Legal Pitfalls)
Before you rely on a CC tag on a 3D model, know that the license only matters if there’s a valid copyright to license.
Because copyright covers only some kinds of works, a CC license can be meaningless when the underlying model isn’t protected; that matters because you can’t grant rights you don’t have. For example, if you measure a public sculpture and post the measurements as a 3D file, those raw measurements are often factual data and may not be copyrighted; a CC tag on that file won’t suddenly create exclusive rights. If you’re sharing measurement-based models, label the file as “derived from measured data” and include the measurement date so users know what they’re getting.
If the creator is unknown or impossible to contact, you’re dealing with an orphan work, which creates real risk because you can’t get clear permission; that matters because reusers may face takedown notices or legal claims later. Picture finding a detailed 3D scan on an old forum with no author listed; you can’t safely assume the CC license is valid. If you encounter this, do the following: 1) search the original upload source and metadata, 2) check Wayback Machine or forum archives, 3) if you still can’t find the author, mark the model as “orphan—use at your own risk” and avoid commercial use.
Some models reproduce trademarked products or contain components under separate licenses, and that matters because trademarks and third-party licenses create obligations beyond copyright. For example, a realistic 3D model of a branded sneaker may be allowed by a CC license for the 3D mesh but still infringe the sneaker maker’s trademark if used on merchandise. If you model or use branded items, do these steps: 1) identify visible trademarks or logos, 2) remove or replace trademarked elements, or 3) get explicit trademark clearance from the brand.
How to check whether a CC label actually applies to a model matters because it lets you avoid legal surprises. Do this: 1) inspect the file and metadata for author and source, 2) ask the uploader for proof of copyright if possible, 3) run a reverse image/search for duplicates, and 4) flag the model as uncertain if you can’t verify the author. A concrete example: you find a highly detailed engine CAD file; a reverse search shows it matches a paid CAD library sample—don’t assume the CC tag is valid.
If you’re going to license a model yourself, this matters because you need to be truthful about what you’re licensing. Step 1: confirm you created the expressive elements (textures, sculpted details) rather than only measurements; step 2: document your source files and dates; step 3: attach a clear license statement that names what is and isn’t covered. Example: you modeled a fantasy chair inspired by a photo—note which parts are your original sculpt and which parts are traced or copied.
Final quick checklist you can use immediately: 1) Was the model created from raw factual measurements? If yes, be cautious. 2) Can you find and contact the author? If no, treat as orphan. 3) Are there trademarks or third-party licensed parts? If yes, get separate permission. 4) If licensing your own work, document sources and state limitations in the license.
Where to Publish CC 3D Models: Platforms, Visibility, and Rules
Before you publish your 3D model, you need to know why the platform matters: it affects who finds your work, how they can reuse it, and whether your attribution survives. Example: if you upload a printable lamp model on Thingiverse and tag it “lamp, household, PLA,” more hobbyist makers will find and remix it at weekend maker events.
Here’s where creators typically publish CC‑licensed 3D models, and what you should do on each site. One real example per platform follows.
Sketchfab — Who finds it and how to set it up
Why this matters: Sketchfab boosts visibility with previews and searchable metadata, which increases downloads and embeds.
Example: a detailed car interior model shows up in architecture portfolios because Sketchfab renders it interactively in search results.
Steps to publish on Sketchfab:
- Export your model in GLTF or OBJ with textures embedded.
- Upload the file and add a clear CC license (e.g., CC BY 4.0).
- Fill title, description, tags (3–5 tags like “interior, car, vehicle”), and categorize it.
- Check the “Allow downloads” box if you want others to reuse the source files.
Tip: include a README with attribution text to copy.
Thingiverse — Makers and remix culture
Why this matters: Thingiverse attracts hobbyists who expect remixing and printable files, so your model will likely be modified and redistributed.
Example: a tiny robot model gets remixed into a larger hexapod because the community favors practical, modifiable designs.
Steps to publish on Thingiverse:
- Export an STL (or multiple STLs for parts) and a photo of the printed piece.
- Upload files and choose a CC license that permits derivatives if you want remixes.
- Add a “Thing” description, print settings, and at least one step-by-step image.
- Tag print parameters like “PLA, supports, 0.2mm” for discoverability.
Tip: include a version history so remixers can track changes.
Wikimedia Commons — Long-term access and metadata
Why this matters: Wikimedia favors reliable metadata and long-term preservation, which keeps your model discoverable in educational or museum contexts.
Example: a scanned museum artifact posted with high-quality photos and provenance shows up in a university lecture because Commons preserves the record.
Steps to publish on Wikimedia Commons:
- Prepare a high-quality image plus the 3D file (OBJ is acceptable) and clear provenance.
- Upload with a CC license that matches your intent; include source and author fields.
- Fill structured metadata fields: date, creator, license, and description.
- Add categories that match subject and material for searchability.
Tip: include the exact attribution line you want others to use.
Check each site’s rules about commercial use, derivatives, and required metadata before you upload because those choices determine who can reuse your work. Example: picking CC BY-NC blocks commercial reuse, which stops a startup from selling prints of your model.
Quick checklist before you hit Upload
- Choose a license (e.g., CC BY 4.0) and write a one-line attribution.
- Export accepted file formats (GLTF/OBJ for Sketchfab, STL for Thingiverse, OBJ for Commons).
- Prepare at least one preview image and a README with usage notes.
- Add 3–5 specific tags and platform-required metadata fields.
Do this and you’ll make your model easy to find, legally reusable, and more likely to be credited.
Recommended Products

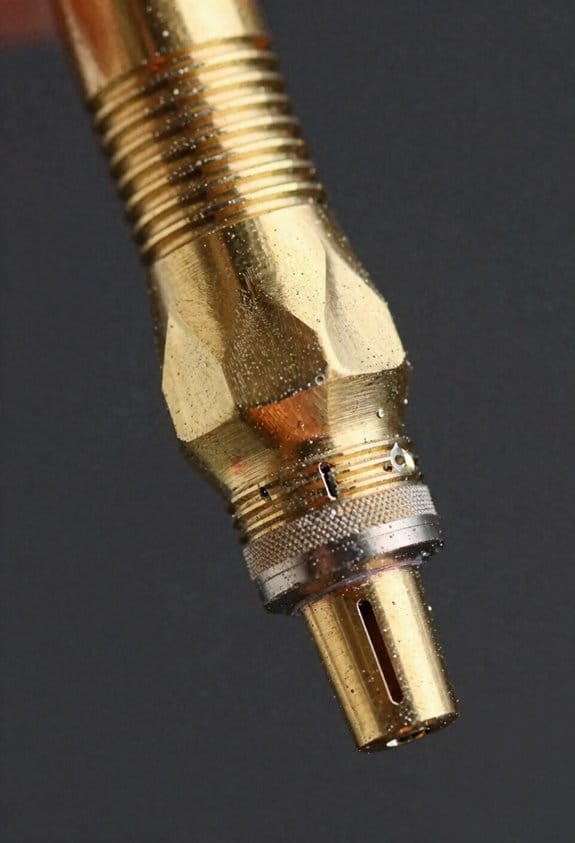
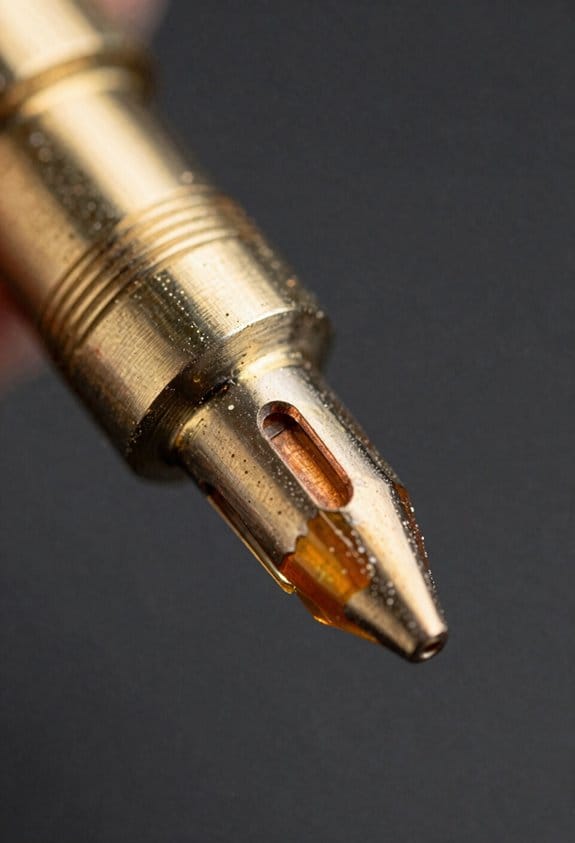
Diamond files for working on various shapes & contours

【Attribution】: DUMMY 13 Printable Jointed Figure 2023 by Lucky 13 Toys is licensed under CC BY 4.0

Package includes: you will receive 9 pieces of miniature files tools, includes round file, flat file, and triangular metal file, 3 pieces each style, abundant quantity and diverse style that can meet your various needs
How to Credit Designers When You 3D Print Their Work
Before you 3D print someone else’s design, know why credit matters: it keeps the creator recognized and lets others find the original file if they want changes or permission.
1) Check the license first.
Why it matters: the license tells you exactly what the creator requires for attribution.
Step 1: Open the file page or metadata and look for a license name (e.g., CC BY 4.0, GPL, or “All Rights Reserved”).
Step 2: If it’s Creative Commons, note whether it requires attribution (BY) or forbids commercial use (NC).
Example: I once printed a lamp shade from Thingiverse labeled CC BY-NC; the license required my name plus the original link on any listing.
2) Decide how you’ll attach credit to the physical print.
Why it matters: once printed, the design loses its digital context unless you attach identifying info.
Steps:
- When possible, add a small engraved credit on a non-visible face: include the creator’s name and a short URL or QR code (e.g., “Design: AlexR.com/1234”). Aim for text height of 2–3 mm so it reads after finishing.
- If engraving isn’t feasible, add a removable tag or sticker inside packaging with the same info. Use archival paper or a plastic tag for durability.
Example: I printed a handheld tool where the model had thin walls, so I tucked a laminated card with the creator’s name and the license inside the product box.
3) If you post photos or sell the print online, give clear attribution in the listing.
Why it matters: your online post is where most people will discover the work and its author.
Steps:
- In the item title or first line of the description, write: “Designed by [Creator Name] — [License].”
- Add a direct link to the source file and list any modifications you made (e.g., “Scaled to 110%, added 2 mm fillet to handle”).
- If you used a license that restricts commercial use, explicitly state whether this listing is non-commercial.
Example: I sold a printed planter and listed: “Designed by SaraM — CC BY-SA 4.0. Source: bit.ly/saram-planter. I hollowed the base and added drainage holes.”
4) Keep a credit log for your prints.
Why it matters: a central record makes future attribution easy and protects you if someone asks about provenance.
Steps:
- Create a simple spreadsheet with columns: File name, Creator, License, Source URL, Modifications, Print date.
- Save screenshots of the original listing and the license text with each row.
Example: My log showed a 2026 print that used a model flagged “No Derivatives”; I avoided altering that design and noted the print date and URL.
5) When in doubt, ask the creator.
Why it matters: direct permission clears ambiguity and builds goodwill.
Steps:
- Send a short message: who you are, which file you want to print, how you’ll credit them, and whether you plan to modify or sell the print.
- Keep their reply in your credit log.
Example: A designer replied “OK to sell as long as you credit me and link to the file,” and I printed their exact confirmation and added it to the listing.
One final tip: always include at least three pieces of info when you credit a print — creator name, source URL, and license.
Recommended Products

【Freedom to DIY as you wish】This metal business card gives you the freedom to design and is also perfect for gift cards, bookmarks and more. Metal cards have a glossier texture than paper cards, making them a great gift for family and friends during Christmas, Halloween, weddings or birthday parties.

CUSTOM WHITE LASER ENGRAVING (NOT PRINTED) Laser engraving removes the surface coating to reveal a crisp white design on colored anodized aluminum. Upload your logo/name/text/QR for a clean, premium look.

100 pcs Silver sublimation metal business cards ,could be used for heat transfer or laser engraving ,Pneumatic Dot Peen Marking Machine
Choosing a CC License: Checklist and Real‑World Examples
Before you pick a Creative Commons license, know why it matters: your choice controls whether people can sell, change, or freely share your 3D design.
1) Decide commercial use (can people sell your file?)
– Step 1: Choose Yes or No.
Example: If you want stores to print and sell miniatures, pick “Yes.”
– Step 2: If you pick No, use an NC (NonCommercial) license like CC BY-NC or CC BY-NC-ND.
Real-world example: A tabletop designer who sells printed minis used CC BY-NC so streamers can show the models but can’t resell them.
2) Decide if derivatives are allowed (can people modify your work?)
– Step 1: Choose Allow or Forbid.
Example: If you want fans to remix textures or scale parts, allow derivatives.
– Step 2: If you forbid changes, use an ND (NoDerivatives) license like CC BY-ND.
Real-world example: A prop artist releases a pristine helmet model under CC BY-ND so fan artists can display but not alter the design.
3) Decide if share-alike is required (must derivatives use the same license?)
– Step 1: Choose ShareAlike or Not.
Example: If you want improvements to stay open, require ShareAlike.
– Step 2: If you require it, use an SA license like CC BY-SA or CC BY-NC-SA.
Real-world example: An open-source printer parts designer used CC BY-SA so anyone improving a hinge had to release their version under the same terms.
4) State exactly how you want credit given.
Why this matters: unclear attribution causes conflict and lost recognition.
- Step 1: Write one line to copy-paste. For example: “Model by Jane Doe — jane3d.com — CC BY-NC-SA 4.0.”
- Step 2: Show two examples: an in-file README line and a short social caption.
Real-world example: A shader creator put the exact credit line in the model’s README and included the same short caption for Instagram posts.
5) Check the platform’s norms before publishing.
Why this matters: some sites add expectations beyond the license.
- Step 1: Read the site’s attribution guidelines and tag rules.
- Step 2: If the site prefers noncommercial tags, add NC and mention it in your description.
Real-world example: On Sketchfab, a sculptor saw that most downloads expect attribution, so they included the exact credit line in the model description.
Quick license cheat sheet (use this to pick fast)
- CC0 — release to the public domain; anyone can do anything.
- CC BY — anyone can reuse and sell if they credit you.
- CC BY-ND — allows reuse but forbids changes.
- CC BY-NC-ND — forbids commercial use and changes.
- CC BY-SA / CC BY-NC-SA — allows changes but derivatives must use the same license.
Final numbered checklist before you hit publish:
- Choose commercial: Yes/No.
- Choose derivatives: Allow/Forbid.
- Choose share-alike: Require/Not required.
- Write one exact attribution line and put it in your README and description.
- Confirm the platform’s expectations and add tags if needed.
If you want, tell me what you plan to upload and I’ll suggest a specific license and an exact attribution line you can copy.
Frequently Asked Questions
Can I Apply Different CC Licenses to Separate Parts of a Single 3D Model?
Yes — I can apply different licenses to separate parts: use segment licensing or layered rights, label each component for component attribution, and clearly document terms so users know which parts carry different licenses.
How Do CC Licenses Interact With Patent or Trademark Rights?
I’ll say it loud: CC covers copyright, not patents or trademarks—so patent overlap and trademark conflicts can still block use; I can license files but I can’t grant patent or trademark rights, so you’re still liable.
Can I Sell Physical Prints Made From CC0 3D Models Without Attribution?
Yes — you can sell physical prints made from CC0 3D models; CC0 is an attribution waiver that permits commercial use. I’d still check for patents, trademarks, or rights in identifiable people or brands before selling.
Do Platform Terms Ever Override the CC License I Choose?
Like a referee balancing rules, I’ll say: platform policies and marketplace restrictions can add limits alongside your chosen CC license, but they can’t nullify copyright terms—so you still must follow both sets of rules.
How Should I Handle Attribution for Modified Prints Sold in Stores?
You should credit the original designer on packaging notes and credit labels, stating their name and CC license; I’ll keep a copy of the source file and license URL, and include visible attribution inside product listings and receipts.