As an Amazon Associate, we earn from qualifying purchases. Some links on this site are affiliate links at no extra cost to you. Our recommendations are based on thorough research and editorial judgment.

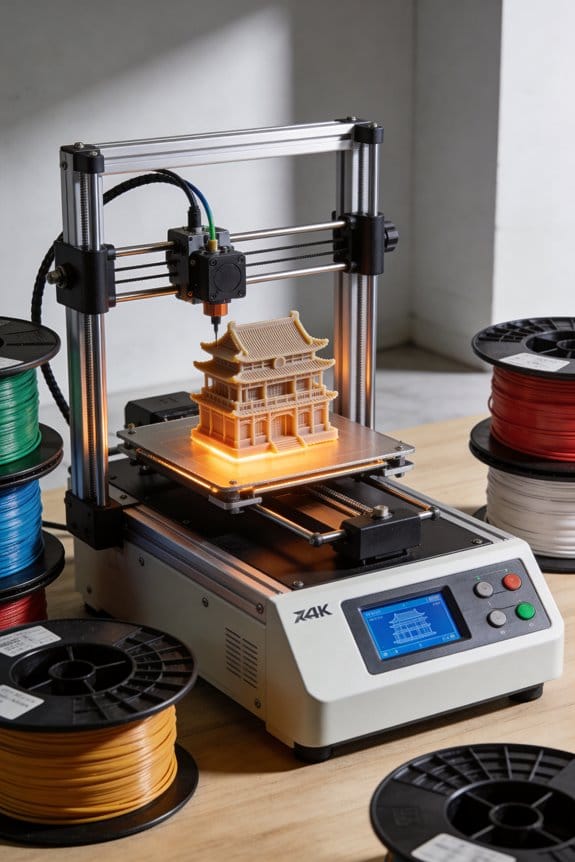
PEI, Glass, and G10: Analyzing the Surface Friction Profiles of Modern Build Plates

You just started a long print only to find the first layer peeling, elephant footing, or fragments that refuse to stick—what bed surface and settings will actually fix this? The exact question is: which build plate (PEI, glass, or G10) and what bed temperature and cleanup routine will give reliable first-layer adhesion for PLA, PETG, ABS, and nylon? Most people blame slicer settings or filament and overlook the wrong surface-material and bed prep choices.
This article will show you, in plain steps, which surface works best for each filament, the bed temps to use, and simple prep and release tricks so your parts stick consistently and pop off cleanly.
You’ll get clear recommendations and quick setup checks. It’s easier than it looks.
Key Takeaways
If you’ve ever struggled to get a first layer to stick, this is why.
PEI gives you high surface energy and very consistent friction across 50–110°C, so you’ll get reliable adhesion for PLA at 50–70°C, PETG at 70–80°C, and ABS at 90–110°C. For example, I print PLA at 60°C on PEI and rarely need a brim. Clean PEI with isopropyl alcohol (IPA) and, if it loses grip, lightly sand with 400–600 grit in one direction to restore it.
The difference between glass and PEI comes down to surface grip.
Glass has low native friction, so you’ll need an adhesive—glue stick, hairspray, or a removable PEI sheet—to get parts to stick and to produce glossy bottoms. A common setup: heat the bed to 60°C, spread a thin PVA glue stick layer, print PETG, then peel off after cooling for smooth, shiny undersides. Clean glass with IPA to remove residue.
Think of G10/garolite like sandpaper bonded to a plate.
G10 provides textured, high-friction surfaces with a strong mechanical bite, which makes it ideal for nylon and other high-temperature filaments printed at 100–130°C. For instance, when printing nylon at 120°C bed temp, the texture prevents warping without extra adhesives. If the texture clogs, rub it with 220–320 grit sandpaper and blow out dust.
Friction and adhesion change with temperature cycling and wear.
Why this matters: prints that stuck yesterday can lift today if the surface condition changed. Example: after 50 heat cycles your PEI may show shiny spots and lose grip. Steps to maintain grip:
- Clean with IPA and a microfiber cloth.
- If needed, sand PEI lightly (400–600 grit) in one direction.
- Reapply a thin glue stick layer on glass when printing sticky filaments.
Choose based on finish, filament, and thermal limits.
If you want glossy bottoms and low friction, use glass with adhesive. If you want consistent, all-purpose adhesion, use PEI. If you print nylon or high-temp filaments and need mechanical grip, use G10.
Build Plate Decision Framework: Key Criteria (Adhesion, Temperature, Finish, Weight)
If you’ve ever watched a first layer fail, this is why the build plate matters.
Adhesion — How do you make your part stick?
Why it matters: If the first layer doesn’t stick, the whole print fails within minutes.
How to manage it:
- Match plate and filament: glass or PEI for PLA; textured PEI or BuildTak for PETG; garolite or PEI for nylon.
- Use helpers when needed: brush on a thin PVA glue stick for PLA (one swipe), or apply a 50/50 mixture of hairspray and water for PETG on glass.
- Adjust first-layer settings: set first-layer speed to 20–30 mm/s and first-layer height to 0.2–0.3 mm for a 0.4 mm nozzle.
Example: printing a 120 mm PLA benchy on glass—clean with isopropyl alcohol, level so the nozzle slightly drags filament, and use a glue-stick swipe; the first layer should show flattened lines, not rounded beads.
Temperature capability — What bed temps can your plate handle?
Why it matters: Exceeding a plate’s temperature limit will warp or damage it, ruining prints and the plate.
How to manage it:
- Check specs: many glass plates tolerate up to 110°C, standard PEI up to 120°C, and aluminum can go higher—confirm the exact number.
- Match filament: PLA needs 50–70°C, PETG 70–85°C, ASA/ABS 90–110°C, and nylon often 80–100°C plus enclosure.
- Use an enclosure or heat spreader if you need consistent temps above the plate’s rating.
Example: when printing ABS at 100°C on a glass plate rated to 110°C, add an enclosure to keep ambient temperature steady and avoid warping.
Surface finish — How will the bottom of your part look?
Why it matters: The plate surface sets the part’s bottom texture and affects dimensional accuracy.
How to manage it:
- Pick finish by need: glossy glass gives shiny bottoms and crisp edges; textured PEI gives matte bottoms and hides minor artifacts.
- Consider post-processing: if you need a flat, glossy bottom, sand and polish glass-printed parts or print on mirror-finish glass.
- Calibrate for accuracy: tighter first-layer squish improves edge fidelity—aim for 0.1–0.2 mm squish on the first layer.
Example: for a display model where the underside will show, use mirror glass and PLA at 60°C to get a shiny, mirror-like bottom.
Weight — Why lighter plates help your printer
Why it matters: Heavier plates increase inertia, causing slower acceleration and more ringing on prints.
How to manage it:
- Balance weight and rigidity: 3 mm spring steel or 3–4 mm aluminum are common—spring steel is lighter than thick glass but still flat.
- Upgrade if needed: if you see ringing at 4000 mm/s² acceleration, try a lighter plate or reduce acceleration to 2000–3000 mm/s².
- Check heating time: lighter plates heat to target 30–50% faster than heavy glass plates.
Example: swapping a 6 mm borosilicate glass plate for a 0.5 mm spring steel sheet reduced heating time from 8 minutes to 4 minutes and cut visible ringing on small parts.
Maintenance and cost tradeoffs
Why it matters: Regular upkeep extends plate life and saves money over time.
Steps:
- Clean daily with isopropyl alcohol for oils and every few prints use warm soapy water for glue residues.
- Replace when warped or when adhesion methods stop working—expect 1–3 years depending on use.
- Budget guideline: basic glass $10–$30, PEI sheets $20–$60, spring steel $20–$50, specialty plates higher.
Example: replacing a $15 glass sheet every 2 years versus a $30 spring steel sheet every 4 years can be cheaper long-term if you print daily.
Final practical checklist
Why it matters: A quick checklist helps you choose and use the right plate.
- Identify your primary filament and its bed temp.
- Pick a plate rated at or above that temperature.
- Choose finish based on whether you want glossy or matte bottoms.
- Prefer lighter, rigid plates if you run high accelerations.
- Follow the maintenance steps above.
If you follow those steps, your first layer will stick and your parts will look and perform better.
Recommended Products

Multicolor Printing with CFS: The K2 Plus Combo includes the K2 Plus 3D printer and one CFS (Color Filament System) unit. The CFS has four slots to hold different filament colors simultaneously. With dynamic mixing, the system enables up to 16-color blending in a single print. Filaments are not included in this combo.

The MK4 is the latest edition of our flagship 3D printing workhorse. It combines the reliability and safety features of its predecessors with high-speed performance enabled by Input Shaper support. It brings plenty of new features like a perfect smooth first layer thanks to the Loadcell sensor (no manual adjustments needed).
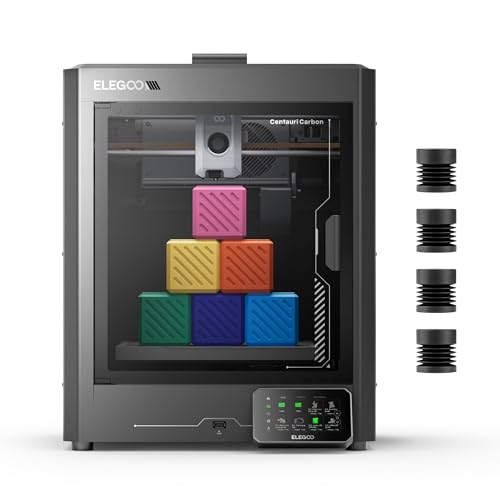
Print Right Out of the Box: ELEGOO Centauri Carbon arrives fully assembled and pre-calibrated, ready to go right away. With auto bed leveling, intuitive touchscreen controls, and 256x256x256 mm/10”x10”x10” build volume, it’s built for users of all skill levels. Whether you're a beginner or seasoned maker, enjoy smooth, frustration-free printing from the start
Adhesion Mechanics: PEI vs Glass vs G10 Build Surfaces
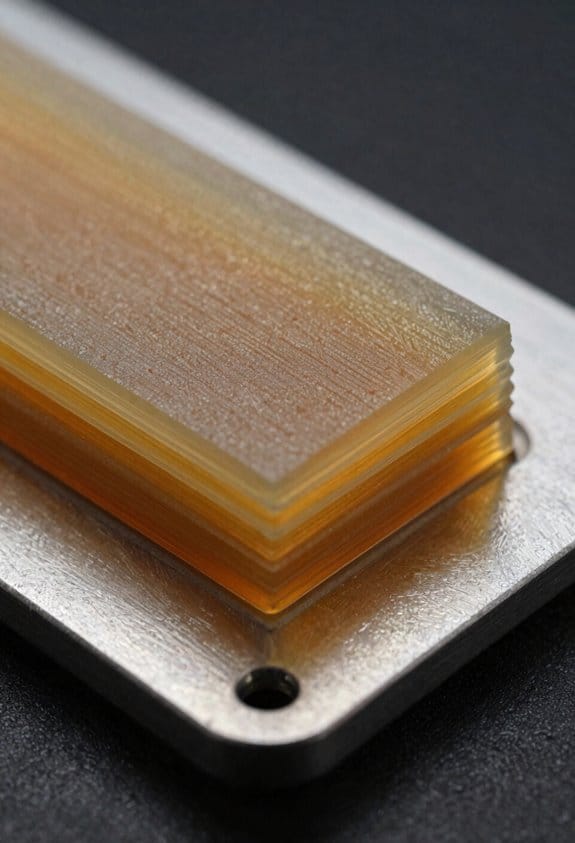
If you’ve ever watched a print peel off the bed five minutes after finishing, this is why.
Why it matters: getting the first layer to stick means fewer failed prints and less wasted filament. PEI, glass, and G10 behave differently, so pick the right one for your filament and workflow.
PEI: how it sticks and what you do
Why it matters: PEI gives reliable adhesion for many filaments so you won’t fuss with glue every print.
PEI has high surface energy and a chemistry that bonds well with PLA, PETG, and ABS at typical build-plate temps (60–110°C). For example, when I print PLA at 60°C on a clean PEI sheet, the first layer usually stays put through a 2–4 hour print.
Steps to get good PEI adhesion:
- Clean with isopropyl alcohol (70–90%) before each print.
- If adhesion drops, lightly scuff with 600–800 grit sandpaper, then wipe.
- Replace the sheet after ~200–300 print cycles or when you see scratches affecting prints.
Real-world example: I printed a 150 mm vase in PETG at 75°C bed temp on PEI and had no warping or lifting.
Glass: its look and how to make it work
Why it matters: glass gives the glossiest bottoms, so pick it when finish matters.
Glass is ultra-flat, so it leaves a smooth, mirror-like surface, but it has low native adhesion and often needs help. Use one of these approaches:
- Heat the bed: 60–90°C for PLA, 70–100°C for PETG/ABS.
- Add an adhesive: glue stick (a thin even layer), hair spray (hold 20 cm and spray once), or a PEI/BuildTak sheet.
- For ultra-flat parts, use a slightly rough glass (sanded with 400 grit) or a thin sheet of painter’s tape.
Real-world example: printing a 200 mm phone stand in PLA on plain glass at 60°C without glue failed, but a thin glue-stick layer fixed it immediately.
G10 (fiberglass laminate): when to pick it
Why it matters: G10 grips when hot and releases when cool, so it helps with large parts that warp if clamped.
G10’s fiber structure and thermal behavior give strong mechanical grip at elevated temps and a predictable release on cooling; that’s great for materials like ABS and nylon. Typical settings: bed at 90–110°C for ABS, 70–100°C for nylon. Use a light wipe of isopropyl to clean; don’t sand aggressively or you’ll ruin the surface texture.
Steps for consistent G10 results:
- Heat to the recommended temperature for your filament.
- Print the first few layers at 100–150% extrusion width for better mechanical bite.
- Let the bed cool fully before removing large parts.
Real-world example: I printed a 250×150 mm ABS enclosure on G10 at 100°C, and it stayed flat through the print but popped off cleanly after cooling.
Thermal cycling and maintenance
Why it matters: repeated heating and cooling changes adhesion and can ruin your surface over time.
Thermal cycling can delaminate coatings, change surface energy, and open tiny cracks that reduce grip. Keep these maintenance habits:
- Track sheet life: replace PEI after ~200–300 prints or visible damage.
- Clean after every print: isopropyl wipe for PEI and G10; remove glue residue from glass immediately with warm water and a scraper.
- Re-level the bed periodically; uneven thermal expansion shifts first-layer height by 0.05–0.2 mm.
Real-world example: ignoring residue on glass led to progressive adhesion loss; a full cleaning and re-level restored consistent first layers.
Quick decision guide
Why it matters: choose the easiest reliable surface for your filament and print goals.
- Use PEI for everyday PLA and PETG when you want consistent adhesion with minimal fuss.
- Use glass when surface finish matters and you’re willing to apply glue or higher temps.
- Use G10 for large ABS/nylon parts that need strong hold while hot and clean release when cold.
You’ll get better results if you match bed temperature, cleaning routine, and first-layer settings to the surface and filament you’re using.
Recommended Products

600mm/s Ultra-Fast Printing with CoreXY. Vibration compensation and linear rails deliver print studio-grade precision even at max speed – cut project time by 70% with 0.1mm layer resolution.

Vibrant Multi-Color 3D Printing. Unleash your creativity with the Intelligent Filament System (IFS), enabling seamless multi-material and multi-color printing. Perfect for detailed prototypes, artistic models, and eye-catching designs that stand out.

OVERVIEW OF NEPTUNE 3 PRO: 225x225x280mm/8.85x8.85x11 inch printing size can meet the needs of most users. With an STM32 motherboard, all axes of ELEGOO Neptune 3 Pro are driven by silent stepper motors for quieter and more precise movement during printing, which reduces the noise as low as 47-48dB. The easy-to-setup printer comes with the main components pre-assembled, as well as a complete tool kit for quick installation
How Bed Temperature Affects Adhesion and Filament Compatibility
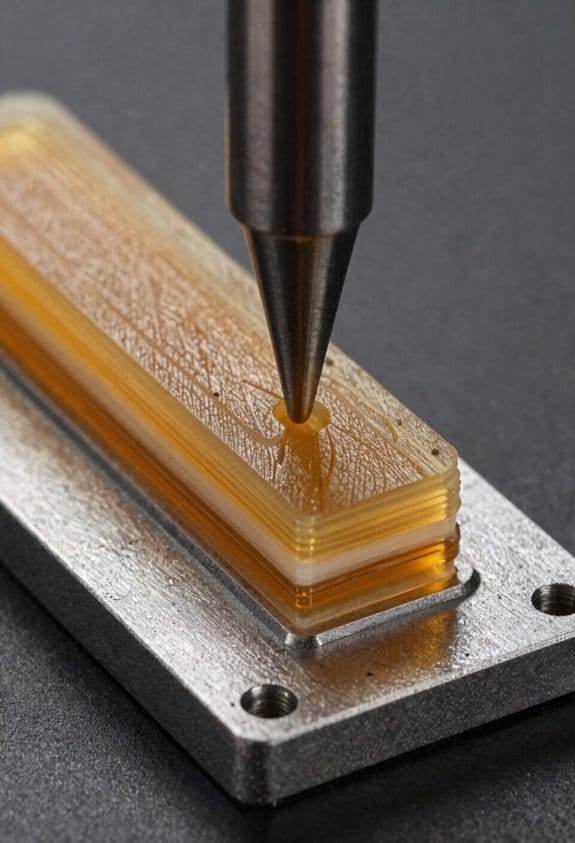
If you’ve ever watched a corner lift on a print, this is why.
Why this matters: if your part doesn’t stick, the whole print can fail and waste hours of time. When you change the bed temperature, you change how molten plastic behaves when it first touches the build surface, and that decides whether a layer sticks or peels. For example, when printing a 120 mm ABS box, raising the bed from 60°C to 100°C kept the bottom layers soft enough that the corners stayed flat during a 2-hour print.
How to set bed temperature (step-by-step):
- Identify your filament’s recommended bed range — for PLA use 50–65°C, for PETG 70–85°C, for ABS 90–110°C, and for nylon 70–100°C.
- Start 5°C above the low end of that range for the first layer (e.g., if PLA says 50–60°C, set 55°C).
- If you see corner lifting or layer separation on long prints, increase the bed by 5–10°C and try again.
- If the part becomes glossy, soft, or you risk damaging the print surface, lower the bed by 5°C.
Why ambient cooling matters: rapid cooling pulls material inward and can lift corners even when the bed is hot. For instance, printing ABS in a cold garage will still warp unless you enclose the printer or keep ambient temperature above about 30°C. Use an enclosure or reduce drafts to keep the part warm.
How nozzle height affects adhesion and what to do about it:
- Set your nozzle so the first layer is slightly squashed — you want the filament to be flattened to about 75–90% of its intended layer height.
- If your first layer looks like thin spaghetti lines, lower the nozzle 0.05–0.1 mm.
- If the nozzle is dragging or gouging, raise it 0.05–0.1 mm.
A properly squashed first layer improves contact and wetting; too high prevents good adhesion.
Practical compatibility tips:
- PLA: bed 50–65°C, nozzle 190–220°C, no enclosure usually needed.
- PETG: bed 70–85°C, nozzle 230–250°C, expect stronger bed adhesion and stringing.
- ABS: bed 90–110°C, nozzle 230–260°C, use an enclosure to avoid warping.
- Nylon: bed 70–100°C, nozzle 240–260°C, use glue stick or specialized surfaces to help stick.
Quick troubleshooting checklist (3 quick checks):
- Is the nozzle too far? Lower by 0.05 mm.
- Is the bed temperature within the filament range? Adjust by 5–10°C.
- Is there a draft or cold room? Move the printer or use an enclosure.
Safety and limits: never exceed your heated bed’s rated maximum temperature; many glass or PEI sheets degrade above 120°C. If you need adhesion beyond safe temps, use adhesives (glue stick, hairspray, or ABS slurry) rather than pushing temperatures higher.
Final practical note: make one change at a time — adjust bed temperature by 5°C or nozzle by 0.05 mm — then print a 20-minute calibration square to see the effect.
Recommended Products
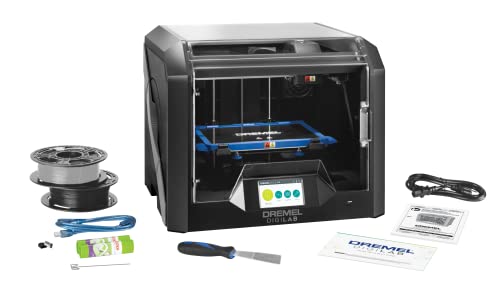
Pcmag 2018 Editors' Choice Award And Google For Education Partner – Dremel 3D45 3D Printer Kit

[Most Advanced 3-in-1 3D Printer]: Snapmaker Artisan 3D printer features Dual Extrusion 3D Printing, 10W Laser Engraving & Cutting (with Camera Capture), 200W CNC Carving. With three functions are integrated into one machine, Artisan help you realize different advanced projects and truly turn your desktop into a workshop. The modular design and quick-swap toolheads & platforms let you shift between 3 functions in 1 minute,really enhance efficiency.

Enjoy Printing in Multiple Colors: By hooking up as many as four CFS units together, you are able to print in the splendor of 16 colors. Saves the need for extra painting afterward. With Creality Automatic Material System. Intelligent Management of Multiple Filaments
Build Plate Finish: PEI (Matte), Glass (Gloss), G10 (Glassy)
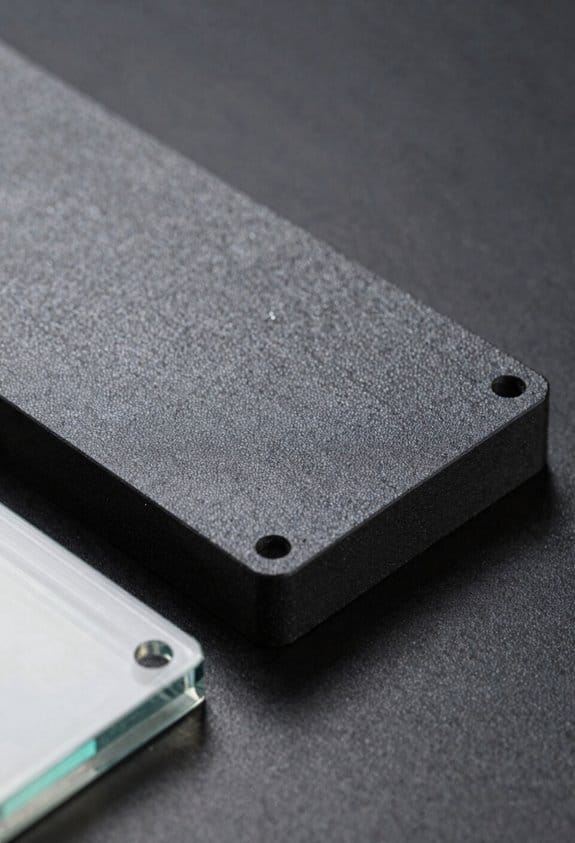
If you’ve ever tried different build-plate surfaces, this is why.
Matte PEI: What will the bottom of your print look like and how will it stick?
Why it matters: the first layer sets warping risk and surface finish.
Matte PEI gives a fine, slightly textured bottom and very consistent first-layer adhesion. Example: a PLA benchy printed at 60 mm/s on PEI will show a soft, satin finish with visible fine lines instead of mirror reflections. How to use it:
- Clean with isopropyl alcohol (70–90%) for 30 seconds before each print.
- Level so the nozzle is 0.1–0.2 mm from the bed at the center for the first layer.
- Print the first layer at 20–30% slower than normal and at +5–10°C bed temp above your filament’s typical setting.
PEI wear: tiny bubbles can appear after many prints; lightly sanding with 400–600 grit and re-cleaning restores adhesion.
Glass: What will the bottom of your print look like and how will it stick?
Why it matters: glass gives the most mirror-like results and can change how easy parts are to remove.
Glass produces very high visual contrast and near-mirror bottoms when you use PLA or PETG and the surface is perfectly clean. Example: a transparent PLA coaster printed on a clean glass plate will have a glossy, reflective underside that shows toolpath rings. How to use it:
- Wash with dish soap and hot water, then dry with a lint-free cloth.
- If adhesion is weak, apply a thin layer of glue stick or hairspray, or use a PEI sheet on top.
- Use a bed temp 5–10°C higher for the first layer to improve stick, then drop to normal after the first 2–5 layers.
Glass wear: scratches and chips appear if you use abrasive cleanup or drop tools; store flat to avoid breakage.
G10: What will the bottom of your print look like and how will it stick?
Why it matters: G10 balances a glossy look with durable adhesion that tolerates heated beds.
G10 gives a glassy, slightly textured sheen and holds very well while hot, but releases easily when cool. Example: an ABS part printed at 100–110°C bed on G10 will stick firmly during printing and separate cleanly after a 10–15 minute cooldown, leaving a smooth gloss. How to use it:
- Clean with isopropyl alcohol before printing.
- Use the same first-layer distance as PEI (0.1–0.2 mm) and a slightly slower first-layer speed.
- For best results with high-temp materials, heat the bed to within the filament’s recommended range and let the plate soak for 5 minutes.
G10 wear: abrasion-resistant, so small scuffs can be sanded with 320–600 grit and the plate will still work.
Quick comparison for choosing: which should you pick?
Why it matters: matching finish to your priorities saves time and failed prints.
- Pick matte PEI if you want predictable adhesion and a satin finish for PLA and PETG. Example: if you print functional parts daily, PEI minimizes failed first layers.
- Pick glass if you need mirror-like bottoms for display pieces and don’t mind using adhesives. Example: glossy coasters or display faces look best on glass.
- Pick G10 if you print high-temperature materials and want robust heated adhesion with easy post-cool release. Example: ABS and ASA hobby parts that warp easily stick well to G10.
Final practical tips:
Why it matters: small habits extend plate life and reduce print failures.
- Clean before every print (alcohol for PEI/G10, soap for glass).
- Check first-layer height: aim for a 0.1–0.2 mm nozzle-to-bed gap.
- Use a slow first layer and adjust bed temp +5–10°C for better stick.
Store glass flat to avoid chips.
Recommended Products

DOUBLE SIDED TEXTURED PEI BOARD: Ideal for PLA, PEEK, PETG, TPU, ABS and other materials, the textured PEI leaves a textured on the bottom of the print

COMPATIBLE MODEL: Flexible spring steel magnetic construction double sided texture PEI plate, the size is 470x470MM, suitable for CR10 and other
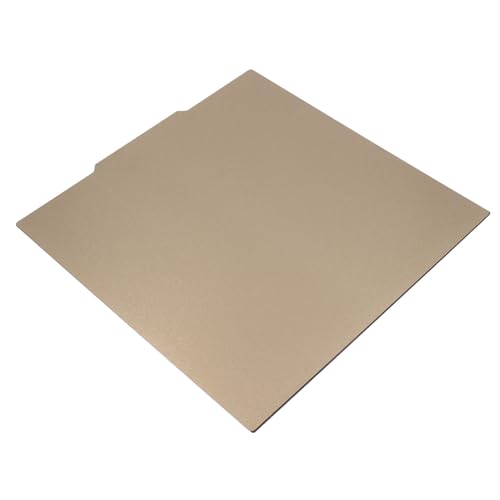
[Wide Compatibility] With a size of 430x430MM, our 3D printer build plate is compatible with for Kobra2 Maximum, for Neptune 3 4 Maximum. Please ensure compatibility with your printer print size.
Weight, Durability, and Print-Release Trade-Offs : Pick by Filament and Setup
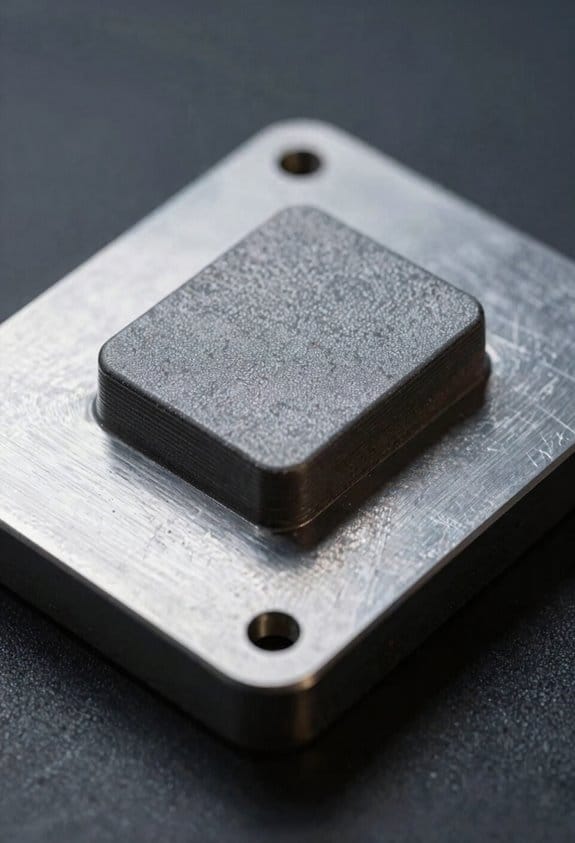
Before you pick a build surface, know how bed weight, part toughness, and release behavior change print quality and printer stress in one sentence: heavier beds increase moving-mass load and vibration, tougher surfaces resist damage, and release style affects whether parts pop off or stick.
Choose G10 when you want a lighter bed that reduces Y-axis load and ringing. Why that matters: if your printer has a springy frame or a long Y carriage, cutting a few hundred grams helps; G10 sheets typically weigh 150–300 g for a 220×220 mm plate versus 700–1,000 g for 3–4 mm glass. Real-world example: on a Prusa i3-style printer with a 220×220 bed, swapping 4 mm glass (about 800 g) for 2 mm G10 (≈200 g) reduced ringing on 40 mm tall prints noticeably at 80 mm/s; the prints stopped showing the horizontal ghosting. Steps to use G10:
- Cut or order a 2 mm G10 sheet sized to your bed.
- Sand the surface lightly with 220 grit before first use.
- Clamp or use heat-resistant clips and set your first-layer height +0.05 mm.
G10 is durable and often lets parts pop off as it cools.
Pick glass if you want glossy bottoms and steady thermal mass for warping-prone filaments because the mass evens temperature swings over long prints. For example, printing large ABS brackets on a 300×300 mm heated borosilicate slab at 100–110°C bed temperature kept corners flat across 2-hour prints, whereas a thin aluminum plate warped. Steps to use glass:
- Choose 3–4 mm borosilicate glass sized to your bed.
- Clean with isopropyl alcohol before each print.
- Use glue stick or hairspray for PLA at 60°C, and ABS slurry or PEI for ABS at 100+°C.
Be aware the heavy plate can amplify vibrations and may require slower accelerations.
Use PEI when you want strong, consistent adhesion for PLA, PETG, and ABS without extra adhesives because PEI bonds well at 50–100°C bed temps but softens above ~135°C, limiting some high-temp engineering plastics. Real-world example: printing PETG on a sheet of textured PEI at 70°C gave flawless first layers and required light scraping after cooling, whereas cold glass needed glue and more fiddling. Steps to use PEI:
- Buy 0.5–1 mm spring steel with PEI or a bonded PEI sheet matching your bed.
- Print first layer at +5–10°C higher than usual.
- Let the bed cool before removing PETG parts to avoid tearing.
If you need >135°C bed temps for materials like PEEK, PEI won’t work.
Match surface choice to filament, bed-heating needs, and your printer’s moving-mass tolerance in one sentence: pick G10 for lightness and pop-off behavior, glass for glossy bottoms and thermal stability, and PEI for reliable adhesion up to its temperature limit.
Recommended Products
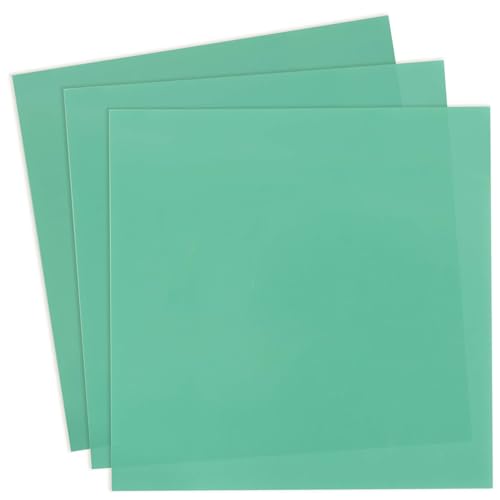
【MATERIAL】: Garolite G10 FR4 sheets in the size of 235x235mm (9.25x9.25"), light green color. High quality laminated sheets made with glass fabric and epoxy resin.

Size:Length 300mm, Width 200mm, Thickness 2.0mm.

Sturdy material for RC model
Frequently Asked Questions
Can I Use PEI on a Flexible Magnetic Bed Insert?
Yes — I’ve used PEI on a flexible magnetic bed insert successfully; PEI durability is good, and Magnetic compatibility works if adhesive backing bonds well and you avoid overheating past adhesive limits to prevent delamination or bubbling over time.
How Do I Safely Cut or Trim G10 Sheets at Home?
About 114 grams for a 1.5mm sheet is typical; I’d cut G10 by securely clamping it, wearing safety goggles, using dust extraction, taking slow passes with cutting oils, and sanding edges while avoiding fiberglass inhalation.
Does Humidity Affect PEI or G10 Adhesion Over Time?
Yes — I’ve seen humidity effects cause environmental aging: PEI stays mostly stable but can lose slight adhesion with prolonged moisture, while G10 absorbs moisture more, altering adhesion and requiring more maintenance or reconditioning over time.
Are Adhesive-Backed PEI Sheets Compatible With Silicone Sock Heaters?
Yes — I do use adhesive-backed PEI with silicone socks, though ironically it feels like insulating my heater from itself; thermal isolation can help but may shorten adhesive longevity, so I monitor temperatures and swap sheets sooner.
Can Glass Be Textured to Improve PETG Adhesion Without Coatings?
Yes — I can use etched glass or a frosted finish to improve PETG adhesion without coatings; roughening increases mechanical grip, but results vary and may still need careful temperature control and bed leveling to avoid warping or strong bonds.