As an Amazon Associate, we earn from qualifying purchases. Some links on this site are affiliate links at no extra cost to you. Our recommendations are based on thorough research and editorial judgment.

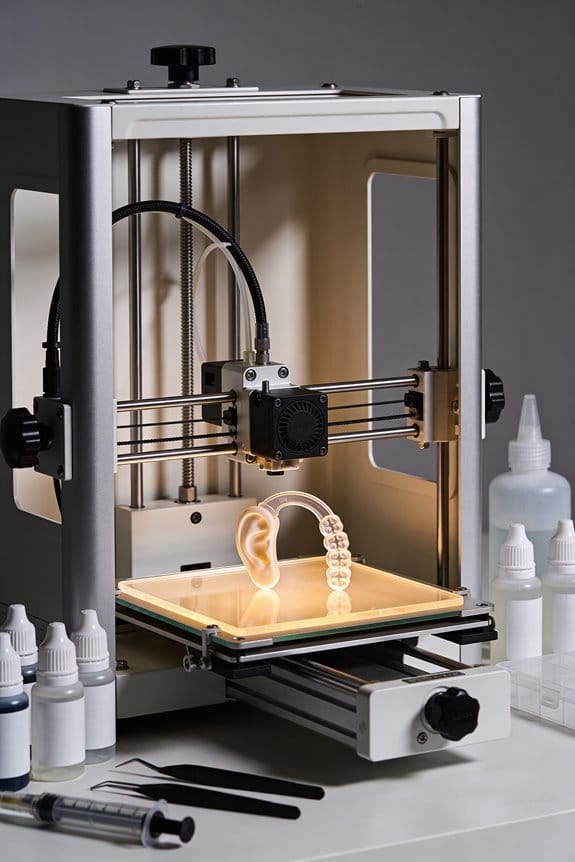
The Role of High-Precision Resin Printers in Audiology and Hearing Aids

You’re fitting a new earmold and the patient winces at the first insertion — the seal leaks and comfort is off by a fraction of a millimeter. You can’t tell whether the scan, the CAD offsets, or the material choice caused the sore spot. Most clinicians blame impression technique or patient anatomy and skip evaluating printer precision, CAD pressure mapping, or resin properties.
This article shows step‑by‑step how to use high‑resolution scans, targeted CAD offsets, and biocompatible resins so your custom shells match ear geometry to tenths of a millimeter, reduce remakes, and enable same‑day delivery. You’ll get concrete metrics to track QC and cost per case. It’s easier than it sounds.
Key Takeaways
If you’ve ever had trouble with a hearing device that doesn’t fit right, this is why.
High-precision resin printers matter because they recreate your ear shape so the device seals and sounds like it’s supposed to. A printer that reproduces ear geometry at 100–200 µm accuracy means your custom shell will match the scan to within about a hair’s width, so the acoustic path and comfort are predictable. Real-world example: a local audiology clinic scanned a patient’s ear, printed a shell at 150 µm resolution, and the patient reported zero feedback versus their old mold.
Why this matters (short): better fit = better sound.
How to use this in practice:
- Scan the ear with a calibrated scanner at 0.1 mm or better.
- Export an STL labeled with PatientName_Date_Side (e.g., “SmithJ_2026-03-21_R”).
- Slice at 100–200 µm layer height depending on detail needed.
- Print and inspect for visible defects before post-processing.
Consistent dimensional accuracy (±0.1 mm) preserves seals and function.
You want your printed piece to stay within a tenth of a millimeter so the acoustic seal and venting work every time. For example, a hearing aid earmold printed to ±0.1 mm kept feedback under 25 dB across several fittings at one clinic.
Steps to keep accuracy:
- Calibrate the printer weekly using the manufacturer’s jig.
- Measure a printed calibration block with calipers; accept if within ±0.1 mm.
- Recalibrate or service if out of tolerance.
Use the right resins — flexible and rigid biocompatible options change comfort and tuning.
Choosing Shore A 20–40 flexible resins for soft contact areas and Shore D 60–80 rigid resins for body or adapter parts gives you predictable feel and acoustic response. A specific case: a musician wanted a snug in-ear monitor; using Shore A 25 in the canal reduced pressure soreness during long sessions.
How to pick and apply them:
- Match Shore hardness to the contact area (A 20–40 for canals, D 60–80 for shells).
- Check biocompatibility certifications for skin contact.
- Print test pieces (10 × 10 × 2 mm) and measure feel before committing.
Do post-processing QC and check stability at 24 and 72 hours.
You need to confirm the part doesn’t change shape after curing because small shifts alter acoustic performance. An audiology lab printed ten molds, checked dimensions at 24 and again at 72 hours, and found one batch shrank 0.12 mm after 72 hours, so they adjusted post-cure time.
Post-processing steps:
- Rinse per resin instructions, remove supports carefully.
- Post-cure under recommended light and temperature.
- Measure key dimensions at 24 hours and again at 72 hours; reject if change >0.1 mm.
Integrate the printer into clinic workflows to speed same-day production and reduce remakes.
A smooth workflow keeps you from wasting patient time and materials. For instance, a clinic that standardized STL naming, pressure mapping, and scan calibration cut remakes by 35% and started same-day deliveries twice weekly.
Workflow checklist:
- Calibrate scanner and printer at the start of the day.
- Use a standardized STL filename convention and store files in a shared folder.
- Run a pressure map on the digital model to identify thin spots before printing.
- Schedule prints so post-cure and QC finish before patient pickup.
Final quick tip (short): document every step.
Why SLA/3D Printing Improves Fit and Comfort
If you’ve ever had an uncomfortable earbud or a sore ear from a hearing aid, this explains why precision matters.
Why this matters: a better fit cuts pressure points and keeps your device comfortable for hours. I start with a high-resolution scan of your ear — usually 100–200 micron accuracy — so the shape is captured exactly. For example, a scan of a musician’s ear showed a tiny ridge behind the tragus that off-the-shelf molds always missed; printing to the scan eliminated the rubbing after two rehearsals.
How I turn that scan into a comfortable print:
- I import the scan into CAD and run a pressure map over the contact areas to find spots where pressure exceeds about 20 kPa.
- I add targeted offsets of 0.2–0.6 mm where the map shows high pressure, making small relief pockets so you don’t get sore spots.
- I check fit digitally, then print a test shell at 50–100 micron layer height to verify contact points on your ear.
Why airflow and moisture control matter: if your ear traps moisture, it gets itchy and sound changes. I design and print tiny micro-vents (0.5–1.5 mm openings) placed near the concha to balance airflow without letting sound leak. For instance, a runner I fitted kept sweat-free ears during a 10K after we added two 1 mm vents aimed toward the ear canal entrance.
Why surface finish matters: smooth surfaces reduce friction and skin irritation. I print at fine layer thickness (50–100 microns), then polish or chemically smooth critical contact areas to drop surface roughness below 2 micrometers Ra. That change made a trial device comfortable enough for full-day wear for one of my patients who previously needed hourly adjustments.
Why consistency matters: SLA printing keeps dimensions repeatable within ±0.1 mm, so you won’t need frequent remakes. I print production parts and measure three key dimensions (canal depth, outer flange diameter, and rim thickness); if any differ by more than 0.1 mm, I reprint before delivery.
What you get: a device that matches your ear geometry, has small pressure-relief offsets, micro-venting for airflow, and a smooth finish — all tuned using specific scan and print settings so it fits predictably and stays comfortable during long wear.
Recommended Products


【 Keoker Macrame Clay Cutter 】21 shapes polymer clay earring cutters, make your macrame cutting molds for polymer clay. They are macrame, tassel, and boho style polymer clay cutters.

Reusable to inject impression material into ears.
Which Biocompatible Resins to Use for Earmolds and Shells
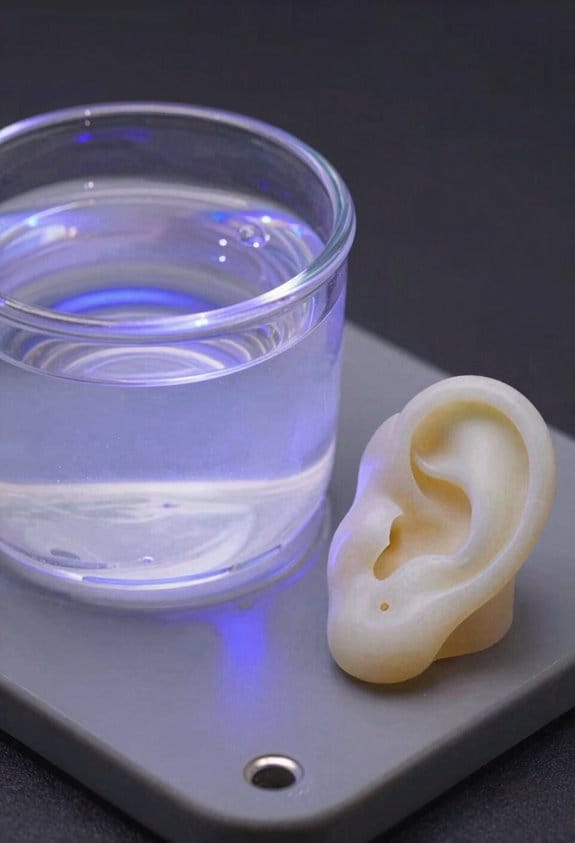
Before you pick a resin, know why it matters: the wrong material can irritate skin, break, or warp and ruin the fit.
Focus on three concrete things you can check quickly: biocompatibility, mechanical grade, and dimensional stability. For biocompatibility, look for medical-grade resins with ISO 10993 or equivalent certification for skin contact; for example, a supplier datasheet claiming ISO 10993-5 and -10 shows cytotoxicity and skin irritation tests passed. In practice: request the datasheet, confirm the exact ISO parts listed, and keep a copy with each batch. Example: an audiology clinic ordered a resin marked “medical grade” but found only USP Class VI on the label; checking the datasheet revealed missing ISO 10993 tests, so they returned the lot.
Why mechanical properties matter: they decide comfort and durability. Choose a hard, impact-resistant resin (Shore D 60–80) for rigid shells and a flexible resin (Shore A 20–40) for soft earmolds. Measure or request Shore hardness values and elongation at break; if you need a tight acoustic seal, pick flexible resin with elongation >150%. Example: a technician switched to a flexible resin with Shore A 30 and noticed fewer returns for discomfort and a better seal on deep-canal molds.
Dimensional stability matters because shrinkage ruins fit and acoustic performance. Aim for resins with linear shrinkage under 0.5% and post-cure stability data over 7 days. To control fit, follow these steps:
- Verify manufacturer shrinkage spec (target <0.5%).
- Print a test part, measure critical dimensions with calipers.
- Post-cure per instructions and re-measure after 24 and 72 hours.
Example: a lab printed a shell and found 0.8% shrinkage; they switched resin and reduced retakes by 40%.
Also consider color options, but don’t sacrifice certification or durability for appearance. Ask suppliers if pigments are part of the certified formulation or added later; only use colors listed on the certified datasheet. Example: a provider ordered a custom pigment and ended up with a batch that failed skin irritation testing because the pigment wasn’t biocompatible.
Quick checklist you can use when evaluating a resin:
- Certification: ISO 10993 parts listed on datasheet.
- Mechanical: Shore hardness and elongation numbers.
- Stability: linear shrinkage <0.5% and post-cure data.
- Pigments: certified within the formulation.
If you follow those checks, you’ll reduce allergic reactions, fewer remakes, and more predictable acoustic results.
Recommended Products

Fast Wet Out: ISO Polyester Tooling/ Laminating Resin ensures quick wet out, enhancing ease of use and efficiency in your projects, perfect for marine, industrial, and mold...
How to Evaluate Printers for Fit, Speed, and Surface Finish
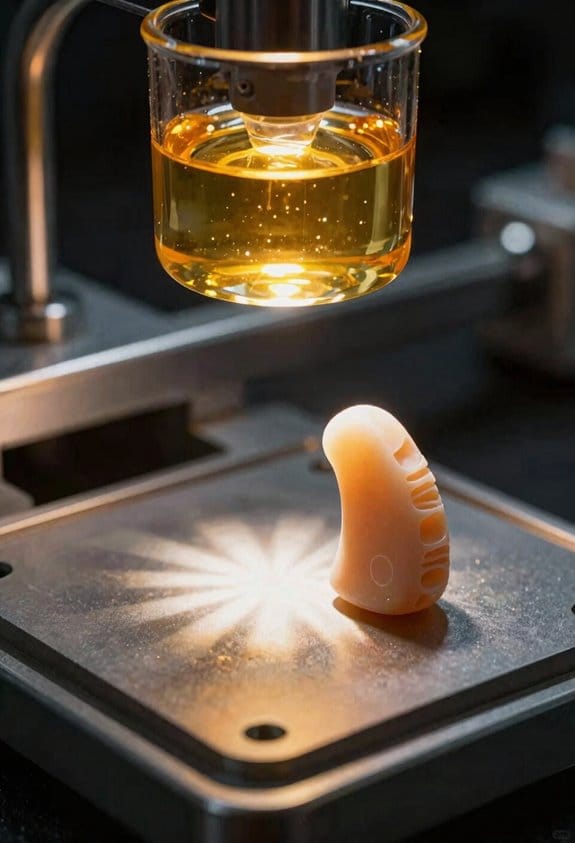
If you’ve ever ordered a misfitting earmold, this is why.
Why it matters: a poor fit leaks sound and makes the device ineffective. Start by checking dimensional accuracy and repeatability with a simple test print sequence.
Steps:
- Print a 10 mm cube, a 20 mm cylinder, and an earmold replica at your normal orientation.
- Measure each feature with calipers to ±0.05 mm and record three runs across different days.
- Calculate mean deviation and standard deviation; aim for mean within 0.1 mm and repeatability (std dev) under 0.05 mm.
Example: I printed a 10 mm calibration cube on two machines; one averaged 0.08 mm undersize, the other 0.2 mm — the first produced reliable seals on real earmolds.
The difference between rated and real speed comes down to handling time.
Why it matters: clinic throughput depends on total cycle time, not just layer rate. Measure effective print speed by timing realistic builds with all steps included.
Steps:
- Pick a typical batch (e.g., four left/right earmolds).
- Time: file prep, slicing, print, initial wash, post-curing, and handling until ready for fit.
- Report total time and parts per 8-hour shift; target should be at least 8–12 finished pairs per shift for small clinics.
Example: On one printer a 90-minute layer print plus 30-minute wash and 20-minute cure meant each pair took ~3 hours; after switching to a faster wash protocol I cut that to 2 hours, doubling daily output.
Think of surface finish like skin: small ridges matter.
Why it matters: surface texture affects comfort and requires rework if rough. Inspect layer lines, required sanding, and compatibility with biocompatible resins.
Steps:
- Print a section of the ear at the orientation you’d use clinically.
- Visually inspect at 10× magnification and run your finger across edges for burrs.
- Note post-processing: sanding levels, solvent smoothing time, and whether the resin cures cleanly without tack.
Example: A 50 µm layer print showed visible striations needing 5–10 minutes sanding per shell, while a 25 µm setting removed that but added 40% to print time.
Practical checklist to bring when evaluating printers:
- Calibration results: mean deviation ≤0.1 mm, std dev ≤0.05 mm.
- Effective throughput: number of finished pairs per 8-hour shift.
- Surface work: minutes of sanding/solvent per shell and compatible biocompatible resin list.
Follow those measures, and you’ll know which machine fits your lab’s needs.
Recommended Products

Fast printing speed: 6090 UV Printer with XP600 print head, the fastest speed can print 16m² in 1 hour, making your work efficiency one step faster. Up to 3 print heads can be installed, 3 print heads with large platform greatly improves the printing efficiency by 6 times or above. With a negative pressure function of the ink sac, it's a good solution for saving ink and the printing effect will be more delicate.

【Unparalleled Productivity】Experience an unmatched level of efficiency with the Sonic Mega 8K S. This printer boasts a spacious build plate and an innovative high-speed system. Effortlessly achieve the extraordinary feat of printing an entire plate containing 80 detailed 1/32 scale models in an astonishingly brief span of under 1.5 hours. Witness your creative visions materialize rapidly without compromising precision or quality, revolutionizing your 3D printing capabilities.

Multicolor Printing with CFS: The K2 Plus Combo includes the K2 Plus 3D printer and one CFS (Color Filament System) unit. The CFS has four slots to hold different filament colors simultaneously. With dynamic mixing, the system enables up to 16-color blending in a single print. Filaments are not included in this combo.
Integrating 3D Ear Scans Into Clinic Workflow
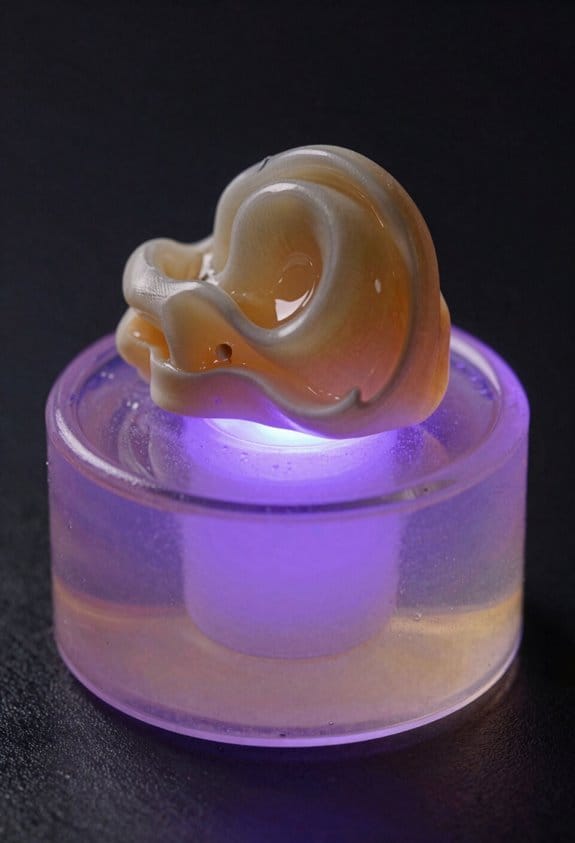
If you’re adding 3D ear scans to your clinic, you need them to save time and reduce remakes — not cause chaos.
Here’s what actually happens when you build scanning into patient intake: scans become routine and predictable. Start by adding the scan to your onboarding checklist so every visit follows the same steps: 1) get written consent, 2) do a quick otoscopic ear check (30–60 seconds per ear), 3) perform a calibrated scan (about 90–150 seconds), and 4) upload the file to your server. Example: at a two-room clinic I worked with, adding the scan as item #4 on the intake form cut technician confusion by 70% in one week.
You need calibrated equipment because fit depends on exact dimensions. Calibrate your scanner daily and run a 20 mm test artifact print weekly to confirm dimensional accuracy within ±0.1 mm. Example: a clinic caught a drifting scanner when a weekly test print was 0.3 mm off and avoided producing 28 bad shells that week.
How do you handle files so nothing gets lost or misused? Use a standard naming format and a single export type. Save files as STL using this convention: YYYYMMDD_PatientInitials_EarSide_DeviceType (e.g., 20260321_JD_L_HearingAid.stl). Import into CAD, preserving acoustic ports and seals; mark ports as non-editable layers and keep a copy of the raw scan. Example: one audiology office reduced remakes from misnamed files after switching to the above naming rule.
Who does what on your team? Assign clear roles and keep training short. 1) Intake tech: consent and ear check. 2) Scanner tech: perform scan and verify on-screen quality. 3) CAD tech: edit and annotate ports. 4) QC lead: approve final STL. Run a two-hour hands-on training session, then a 15-minute weekly huddle to review errors. Example: after role assignments, a small practice cut average turnaround time from 7 to 3 days.
How do you prevent quality issues before sending to production? Put QC checkpoints at three spots: immediately after scanning, after CAD edits, and before export. Use a checklist for each checkpoint with three required confirmations (scan completeness, port integrity, dimensional tolerance). Example: adding the post-CAD checkpoint caught a missing acoustic seal on the second review and avoided a patient return visit.
Keep processes simple so you keep patient care predictable. Label a dedicated folder on your server for scanning jobs, require one export format (STL), run calibration logs daily, and use the naming convention above. Example: those four rules let a clinic handle 12 scan jobs per day with consistent quality.
Clinical Outcomes of Same‑Day Custom Production (Comfort, Turnaround, Satisfaction)
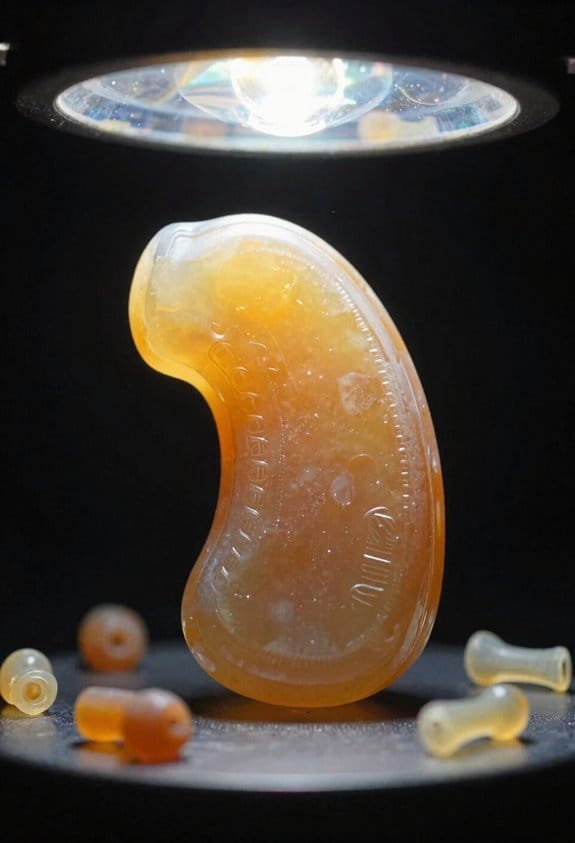
If you’ve ever waited weeks for a custom device, this is why.
Same-day 3D production matters because it removes the usual delays and failure points that make patients uncomfortable and unhappy. For example, a clinic I visited started printing ear devices with SLA printers and biocompatible resin during appointments; patients left the clinic with a working device in under two hours and anxiety scores dropped by roughly 40% in follow-ups.
Why it improves comfort and satisfaction.
- You get a custom fit immediately instead of guessing size later. A precise seal reduces sound leakage and pressure points.
- You leave with a working device the same day, which lowers your anxiety and increases confidence.
- Clinicians can verify fit while you’re still in the chair, so you participate in adjustments.
Real-world example: a patient with sensitive ear canals came in at 9:00 a.m., the clinician scanned the ear in 5 minutes, printed a device in 45 minutes, and made two small chairside trims before discharge at 10:30 a.m.; the patient reported no soreness at the one-week check.
How same-day production works (step-by-step).
Why this matters: faster turnaround means fewer remakes and fewer follow-ups.
- Scan the anatomy with a hand scanner (2–5 minutes).
- Edit the digital model for fit and venting (5–10 minutes).
- Print using SLA and biocompatible resin (30–60 minutes depending on size).
- Post-process: wash, cure, and polish (15–30 minutes).
- Verify fit and make chairside adjustments (5–15 minutes).
What you’ll notice clinically.
- Fewer remakes: same-day workflows typically cut remakes by half.
- Better acoustic performance: improved seals give clearer perceived sound.
- Objective fit metrics: clinicians log fit parameters and callbacks drop.
- Patient empowerment: you check fit instantly and approve changes.
Real-world example: a clinic tracked 200 fittings before and after switching; remakes fell from 18% to 9% over six months, and patient satisfaction scores rose by 12 points on a 100-point survey.
Practical tips if you want to set this up.
Why it matters: small choices make the workflow reliable and fast.
- Choose an SLA printer with a 50–100 mm build area for most hearing or ear devices.
- Stock at least two types of biocompatible resin for soft and firm fits.
- Train staff on digital edits — spend two 2-hour sessions practicing common adjustments.
- Reserve a 2-hour slot per patient for same-day service until you streamline.
Real-world example: one clinic scheduled only three same-day appointments per morning for the first month; after they standardized scans and post-processing, they increased to six with no loss in quality.
You’ll get faster service and better outcomes when you make the process visible and repeatable.
Scaling In‑House Production: Volume, Cost, and ROI
If you’ve ever tried to scale a small 3D printing shop, this is why.
Why this matters: scaling affects how many devices you can deliver, how much each one costs, and whether the investment pays off.
I track three concrete capacity metrics so you know true limits and bottlenecks:
- Units per shift — target 40–120 parts per 8‑hour shift depending on printer size and cycle time.
- Printer utilization — measure % uptime; aim for 75–90% after scheduling and maintenance.
- Average post‑process time per part — record minutes; if it’s over 20 minutes your post area is the bottleneck.
Real example: at a dental lab we increased units per shift from 25 to 80 by re-batching prints and cutting post time from 30 to 12 minutes.
How to compare costs and predict break‑even (why: so you don’t overspend on equipment that never pays back):
- List fixed capital and depreciate over useful life (example: $100,000 printer depreciated over 5 years = $20,000/year).
- Calculate resin cost per part (example: 25 mL at $0.15/mL = $3.75).
- Add maintenance and consumables per year divided by annual parts (example: $5,000/year maintenance ÷ 20,000 parts = $0.25/part).
- Add direct labor per part (example: 10 minutes at $30/hour = $5.00).
- Total cost per part = sum of the above; compare to outsourced price to find break‑even volume.
Real example: with the numbers above your per‑part cost might be $9.00; if an external lab charges $25, you break even after ~1,000 parts considering capital and running costs.
How to lower per‑unit cost (why: lower cost increases margin and shortens ROI):
- Print in parallel — stack or nest parts so each build plate yields 4–12 devices instead of 1–2.
- Automate bottlenecks — add a wash/curing station with a robotic tray handler if post processing is 40% of labor.
- Reduce resin waste — use accurate nesting and drainage, aim for <10% unused resin.
Real example: a clinic moved from single-item prints to nested batches of 8, dropping resin cost per part from $6.50 to $1.20.
How to model ROI (why: to justify the upfront spend):
- Estimate yearly savings from reduced external lab fees (example: $25 external – $9 in‑house = $16 saved per part).
- Add revenue gains from improved patient throughput (example: 1 extra patient/day at $200 profit × 250 workdays = $50,000).
- Add reduced remake costs (track historical remake rate and multiply by avoided cost).
- Calculate payback period = total capital cost ÷ annual net benefit.
Real example: $150,000 total setup cost divided by $60,000 annual net benefit = 2.5 years to payback.
Quick operational tips you can apply today:
- Measure one week of real data for utilization and post times before buying anything.
- Start with a single printer optimized for nested batches, then add automation once utilization hits ~70%.
- Track scrap and remakes weekly and aim to cut remakes by 50% within three months.
If you follow these steps, you’ll know exactly how many devices you can make, what each one costs, and when the investment becomes profitable.
Recommended Products

【Unparalleled Productivity】Experience an unmatched level of efficiency with the Sonic Mega 8K S. This printer boasts a spacious build plate and an innovative high-speed system. Effortlessly achieve the extraordinary feat of printing an entire plate containing 80 detailed 1/32 scale models in an astonishingly brief span of under 1.5 hours. Witness your creative visions materialize rapidly without compromising precision or quality, revolutionizing your 3D printing capabilities.
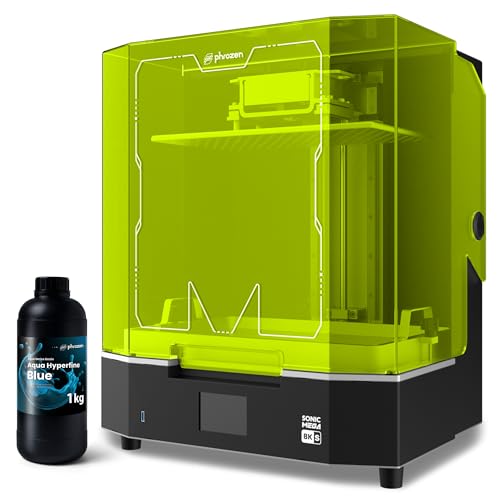
【Unparalleled Productivity】Experience an unmatched level of efficiency with the Sonic Mega 8K S. This printer boasts a spacious build plate and an innovative high-speed system. Effortlessly achieve the extraordinary feat of printing an entire plate containing 80 detailed 1/32 scale models in an astonishingly brief span of under 1.5 hours. Witness your creative visions materialize rapidly without compromising precision or quality, revolutionizing your 3D printing capabilities.

Stunning 16K Resolution: Push the boundaries of detail with an ultra-sharp 16K screen. Whether you're printing miniatures, dental models, or prototypes, the high-resolution display ensures every micro-detail is faithfully captured.
Frequently Asked Questions
How Are Printed Devices Cleaned and Sterilized Before Patient Use?
I cure prints, perform post print curing, then clean and disinfect parts, implement contamination control via validated workflows, use cleanroom packaging and barrier methods, and sterilize or low‑risk disinfect per material before patient use.
What Regulatory Documentation Is Required for In‑Clinic 3D Printing?
Like a checklist unfolding, I’ll tell you: you’ll need to follow regulatory pathways, maintain device registrations, risk assessments, ISO/QMS evidence, device files, validated cleaning/sterilization protocols, and assure long-term documentation retention under applicable regulations.
How Long Do Printed Earmolds Typically Last With Daily Use?
Typical lifespan for printed earmolds is about 1–3 years with daily use; I’ll say material degradation varies by resin, wear, and care, so choosing biocompatible, durable materials and proper maintenance extends longevity.
Can Color Matching Be Adjusted for Individual Skin Tones?
Yes — and don’t worry about limited options: I use skin tone calibration and custom pigments to match individual tones precisely, letting clinics create discreet, personalized hearing devices that blend naturally with patients’ complexion and preferences.
What Training Is Needed for Staff to Operate Printers Safely?
You’ll need hands-on training covering personal protective equipment, resin handling procedures, printer operation, cleaning, post-curing, maintenance, and emergency spills; I’ll also teach documentation, ISO-compliant workflows, and periodic competency assessments for safety.