As an Amazon Associate, we earn from qualifying purchases. Some links on this site are affiliate links at no extra cost to you. Our recommendations are based on thorough research and editorial judgment.


Bio-Compatible Resins: The Strict Science Behind Dental and Medical Grade Materials

You stared at two resin datasheets and a lab protocol, unsure which material will pass ISO testing and survive sterilization without causing tissue reactions.
You need to know which resin truly meets biocompatibility, mechanical, and regulatory demands for dental or medical use.
Most people focus only on advertised “biocompatible” labels or single test results and miss critical interactions between leachables, surface chemistry, and mechanical processing.
This piece will show you how to evaluate resin selection step‑by‑step: what specific ISO 10993 tests and extractables data matter, which mechanical metrics predict clinical performance, and how post‑processing and sterilization change outcomes.
You’ll get a practical checklist to choose compliant materials and next steps.
It’s easier than it looks.
Key Takeaways
Section: Do these resins meet safety tests?
Here’s what actually happens when you check biocompatibility.
Why it matters: you need to know the material won’t harm cells or trigger allergic reactions. Manufacturers document numeric results showing the resin passes ISO 10993-derived endpoints: cytotoxicity, irritation/sensitization, and extractables. For example, a dental crown resin might report an MTT cell viability of 90% ±4% and no skin-sensitizing response in a validated assay. Keep the test reports (PDFs) with lot numbers.
Section: How does the surface affect tissue response?
Think of surface chemistry like a handshake.
Why it matters: the surface controls what proteins stick first, and that dictates how tissue reacts. Measure contact angle; aim for 35–70° for many soft-tissue applications. Also measure Ra (surface roughness); for mucosal-facing parts, keep Ra ≤ 0.2 µm to limit bacterial adhesion. In one clinic example, switching a 3D-printed abutment from Ra 0.5 µm to 0.15 µm cut plaque retention noticeably in two weeks.
Section: How do you quantify residuals and leachables?
Before you measure, know why those chemicals matter.
Why it matters: leftover monomers can be toxic or change mechanical properties. Use GC‑MS or LC‑MS after defined extractions: common protocol is PBS or artificial saliva at 37°C for 7–30 days. Example: run PBS extraction at 37°C for 14 days, concentrate the extract, and report ng/mL of key monomers like HEMA or TEGDMA. Keep raw chromatograms and calibration curves.
Section: How do you reduce residual monomers?
If you’ve ever had a sticky print, this fixes it.
Why it matters: small changes in post-processing drop residuals below acceptance limits. Follow validated steps:
- Rinse parts in 99% IPA for 5 minutes with gentle agitation.
- Sonicate in fresh IPA for 3 minutes.
- Air-dry parts for 10 minutes.
- UV post-cure at the manufacturer‑specified intensity and time (example: 60 mW/cm² for 20 minutes).
After these steps, retest residual monomers; many labs see >80% reduction. A lab that adopted this routine cut residual HEMA from 500 ng/mL to 80 ng/mL.
Section: What documentation do regulators expect?
The difference between audit-ready and audit‑panic comes down to records.
Why it matters: regulators want traceability and validated processes. Maintain ISO 13485-aligned quality records, a sterilization validation file with method and SAL, traceable lot records linking batches to test reports, and an ISO 10993 gap analysis showing which biocompatibility tests were done and which are planned. For example, include a spreadsheet mapping each lot number to its cytotoxicity report, extractables chromatogram, and sterilization cycle log.
Core Biocompatibility Criteria for Dental and Medical Resins
If you’ve ever worried whether a dental or medical resin is truly safe, this is why.
Cytotoxicity: Do cells survive contact?
Why it matters: If cells die on contact, the material can harm tissue and impede healing.
How to check:
- Look for ISO 10993-5 or equivalent test results showing >70% cell viability after 24–72 hours.
- Ask for the specific assay used (MTT, XTT, or live/dead staining) and the cell type (typically fibroblasts).
- Request numeric data: percent viability, exposure time, and concentrations tested.
Example: A lab report that shows 85% fibroblast viability after 24 hours at 1 mg/mL extract is a clear, visual result you can trust.
Irritation and sensitization: Will it inflame or trigger allergies?
Why it matters: Local irritation or immune sensitization can make a harmless material cause pain or allergic reactions.
How to check:
- Confirm irritation testing (ISO 10993-10) with graded scores and time points (e.g., erythema scored at 1, 24, 72 hours).
- Confirm sensitization testing (e.g., local lymph node assay) with reported stimulation indices.
- Ask for population context — was the testing done on skin or mucosa models?
Example: A sensitization test showing a stimulation index of 1.2 (below the cutoff of 3) indicates low allergy risk for most users.
Protein adsorption: What lands on the surface first?
Why it matters: The first layer of proteins controls how cells and bacteria attach, affecting healing and infection risk.
How to check:
- Request protein adsorption data (e.g., serum albumin and fibrinogen amounts in μg/cm² after 1 hour).
- Look for surface characterization: contact angle, roughness (Ra in μm), and chemical groups.
- Prefer surfaces with moderate protein adsorption and contact angles around 60–80°, which often balance cell attachment and lower bacterial adhesion.
Example: A resin surface with 0.5 μg/cm² fibrinogen after 1 hour and Ra = 0.2 μm gives a concrete picture of likely cell-friendly behavior.
Degradation products and leachables: What comes off over time?
Why it matters: Small molecules that leach out can cause systemic effects if they accumulate.
How to check:
- Ask for extractables/leachables analysis by GC-MS or LC-MS with limits of detection and quantification stated.
- Require quantified levels of known residual monomers (e.g., methacrylates) in μg/cm² or μg/mL after standard extraction.
- Confirm accelerated aging or simulated-use tests (e.g., 37°C in saliva or PBS for 7–30 days) with reported concentrations over time.
Example: A report that shows residual methyl methacrylate at 5 μg/mL after a 7-day saline extraction gives you a specific exposure estimate.
Post-processing: How to reduce risk after printing or curing?
Why it matters: Proper post-processing removes residual monomers and lowers biological risk.
How to check:
1. Follow these steps and expect measurable improvement:
- Rinse parts in isopropyl alcohol 3× for 5 minutes each.
- Sonicate in fresh solvent for 2–5 minutes if available.
- Post-cure under a specified lamp for the manufacturer-recommended time (e.g., 10–30 minutes at stated wavelength).
2. Ask for before-and-after data showing residual monomer reduction in μg/cm².
3. Verify any solvent used and disposal instructions.
Example: A clinic that rinses for 15 minutes total, then 20-minute post-cure under 405 nm light saw residual monomer drop from 50 μg/cm² to under 5 μg/cm².
Final practical checklist you can use immediately
- Request ISO 10993 series reports (list specific parts: 5, 10, and relevant extractables data).
- Ask for numeric outcomes (viability %, stimulation index, μg/cm² or μg/mL values).
- Confirm the post-processing protocol and before/after residual monomer numbers.
- Prefer materials with published surface data (contact angle, Ra) and low fibrinogen adsorption.
If you want, send me the product report you have and I’ll pull out the specific numbers and tell you whether they meet these checks.
Recommended Products
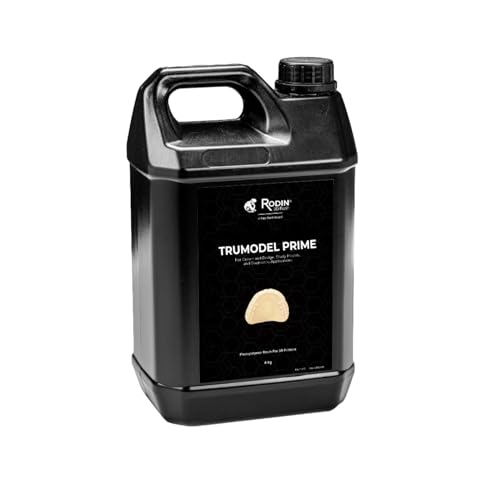
EXCEPTIONAL DIMENSIONAL ACCURACY & LONG-TERM STABILITY: Delivers ±50 µm precision, high surface hardness, and outstanding dimensional stability for reliable working models, study models, removable dies, transfer dies, and orthodontic appliances; maintains accuracy over time without warping
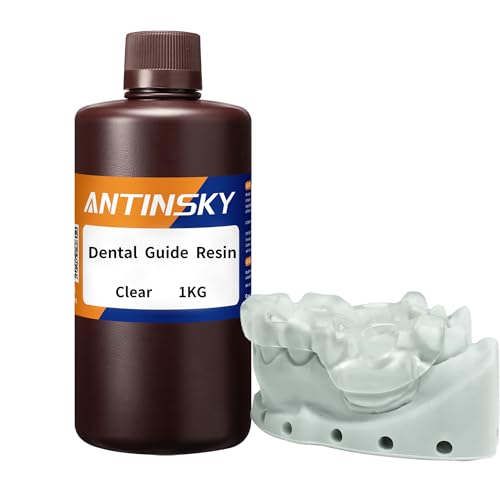
【Special for Dental Guide】Antinsky dental guide resin has excellent drilling and tapping performance and is not easy to crack. It also uses transparent resin for easy observation by doctors. And it can withstand high temperature sterilization to ensure hygienic safety.
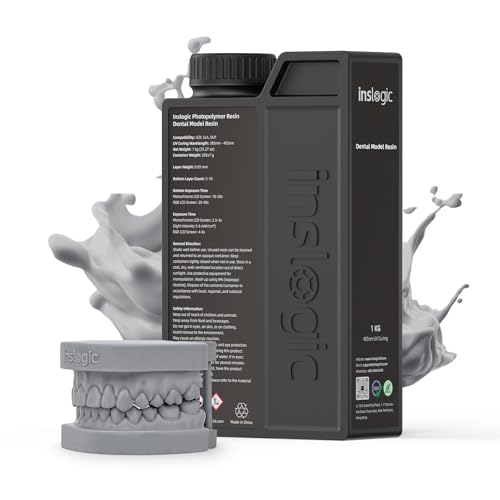
【High Precision & Dimensional Accuracy】Engineered for dental applications, this resin delivers precise, stable results—perfect for crowns, bridges, and aligners.
Regulatory Standards and Required Test Evidence (ISO, FDA, CE)
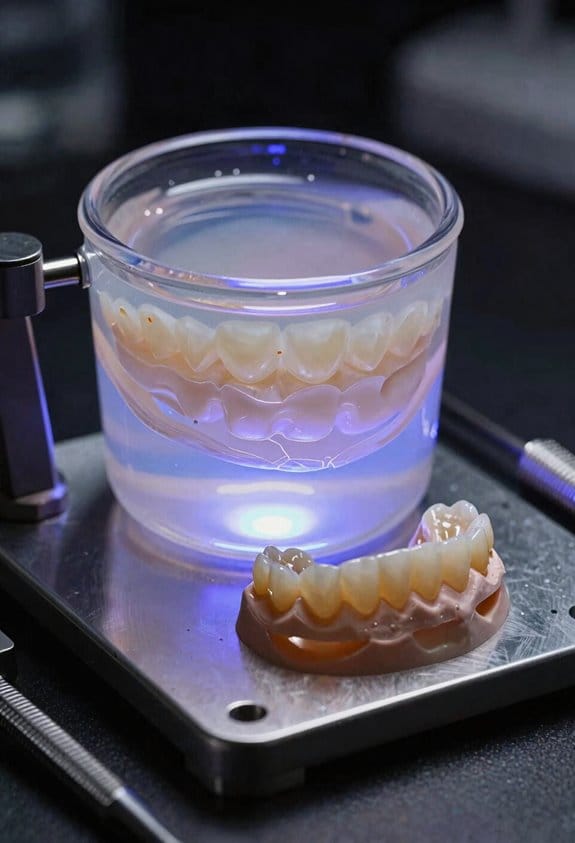
Here’s what actually happens when you map regulatory requirements for dental and medical resins: you figure out which tests you must run, so you don’t waste time or money on the wrong evidence.
Why this matters: regulators reject submissions that lack specific tests, which delays market entry. Example: a small dental-lab resin maker who skipped sensitization testing got a 6‑month FDA hold.
1) What biocompatibility tests do you need and why they matter.
Why this matters: biocompatibility proves your material won’t harm patients when used as intended.
Steps:
- Run ISO 10993-1 gap analysis to pick test endpoints.
- Order these common assays: cytotoxicity (ISO 10993-5), sensitization (ISO 10993-10), irritation (ISO 10993-10), and acute systemic toxicity (ISO 10993-11).
- If your device contacts bone or blood, add chronic toxicity and implantation tests per ISO 10993-6 and -11.
Example: a lab that makes a 3D-printed bite splint should run cytotoxicity and sensitization; they mailed samples to a contract lab and got results in 4 weeks.
2) What mechanical and ageing tests prove device function.
Why this matters: mechanical tests show the resin will last under real use conditions.
Steps:
- Define use-case loads and cycles (e.g., 50 N chewing load, 100k cycles).
- Run flexural strength (ISO 178), surface wear, and degree-of-conversion tests.
- Do accelerated ageing: 37°C water storage for 30 days or thermocycling 5–55°C for 10,000 cycles depending on intended use.
Example: for a denture base, measure flexural strength after 30 days in water; our example lab saw a 12% drop and adjusted formulation.
3) What regulators expect for FDA clearance or CE marking.
Why this matters: picking the right submission type saves months of rework.
Steps:
- For FDA 510(k): identify predicate device, include bench tests, biocompatibility, and possibly clinical data if substantial differences exist.
- For FDA De Novo: prepare bench, full biocompatibility, and at least limited clinical evidence showing safety and effectiveness.
- For CE (MDR): classify device, prepare a technical file with risk analysis (ISO 14971), bench and biocompatibility data, and clinical evaluation report per MEDDEV 2.7/1 rev 4 or MDR Annex.
Example: a start-up used a 510(k) pathway referencing a similar resin and submitted bench tests plus a 30‑patient usability study to satisfy FDA.
4) Manufacturing, sterilization, and material traceability you must show.
Why this matters: auditors want to see repeatable production and sterile product evidence.
Steps:
- Maintain ISO 13485 records: batch records, supplier Certificates of Analysis, and change control logs.
- Validate sterilization per ISO 11135 (EO) or ISO 11137 (radiation) with a Sterility Assurance Level (SAL) of 10^-6 if terminally sterilized.
- Keep raw-material traceability for at least device lifetime plus 2 years.
Example: a manufacturer saved an audit by producing a lot trace from resin batch to shipping label within 24 hours.
5) How to plan testing to avoid delays.
Why this matters: early planning aligns studies with regulator expectations and shortens timelines.
Steps:
- Do a regulatory strategy meeting before prototyping.
- Draft protocols for biocompatibility and mechanical tests and get feedback from your notified body or FDA via pre‑submission.
- Schedule tests so that bench data finish 8–12 weeks before submission to allow for repeat runs.
Example: a dental-device team booked a pre-sub meeting with FDA, adjusted their cytotoxicity protocol, and avoided a 3‑month retest.
Final practical checklist (do these five things):
- Complete ISO 10993-1 gap analysis.
- Define mechanical load and ageing profiles numerically.
- Choose regulatory path (510(k), De Novo, or MDR) and list required documents.
- Set up ISO 13485 records and sterilization validation plan.
- Book pre-sub or notified-body feedback 3 months before submission.
If you want, I can convert this into a timeline for your specific device with estimated weeks and costs.
Recommended Products

[Specifications] Individually sealed packaging with a shelf life of up to 5 years in unopened packaging, ensuring safety every time you use it.

Initial detection of acid phosphatase – results in approximately 1 minute.
Material Properties That Determine Clinical Performance and Durability
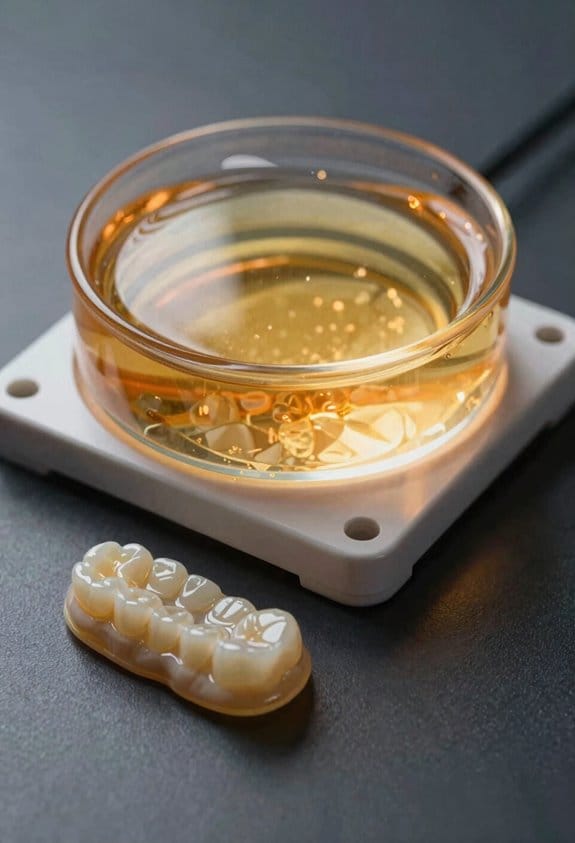
Here’s what actually happens when you pick a resin for use in the mouth or on the body: the material properties control how long it lasts, how safe it is, and how comfortable it feels.
Why this matters: if you choose the wrong resin, parts can crack, wear out, or irritate tissue within months. For example, a provisional crown made from a low-wear resin can lose shape after 6 months of chewing, changing bite and causing soreness.
1) How stiff and flexible the resin is
Why this matters: stiffness determines whether a part bends under load or holds shape.
- Measure it: look for a Young’s modulus (stiffness) in the product data sheet—typical dental resins run from about 1 to 4 GPa; higher means stiffer.
- Real-world example: a 3 GPa provisional bridge resists bending when you bite down, so your occlusion stays stable.
2) How much load the part can take without breaking
Why this matters: flexural strength tells you when the piece will crack under bending forces.
- Measure it: check flexural strength in MPa; aim for >80 MPa for many intraoral restorations.
- Real-world example: a resin with 120 MPa flexural strength survived repeated chewing in a posterior temporary crown for a year in a clinical test.
3) How well the surface resists wear
Why this matters: wear resistance keeps shape and contact surfaces smooth.
- Measure it: abrasion or wear rates are often given in mm^3 loss after standardized chewing simulation; lower is better.
- Real-world example: in wear testing, a resin that lost 0.1 mm^3 after 200,000 cycles stayed functionally smooth compared with one that lost 0.6 mm^3 and needed replacement.
4) Resistance to sudden shocks
Why this matters: toughness and impact resistance prevent sudden fracture from a bite or accidental drop.
- Measure it: look for fracture toughness (K_IC) or impact energy values.
- Real-world example: a denture base with higher impact resistance survived a 1 m drop onto a tile without cracking.
5) Slow deformation under constant stress
Why this matters: creep changes fit and function over months.
- Measure it: manufacturers report creep strain after a set time under load; lower percent strain means less deformation.
- Real-world example: an implant-supported component that creeped 0.05% over six months maintained proper fit, while 0.5% creep caused looseness.
6) Fatigue from repeated loading
Why this matters: repeated chewing causes microcracks that grow into failure.
- Measure it: fatigue life is shown as cycles to failure at a given load—look for thousands to millions of cycles depending on use.
- Real-world example: a restorative resin rated for 1 million cycles at 50 N matched normal chewing forces and lasted multiple years in trials.
7) Temperature changes in the mouth or on skin
Why this matters: thermal cycling causes expansion and contraction, which loosens bonds and creates stress.
- Measure it: check coefficient of thermal expansion (CTE) and results of thermal cycling tests.
- Real-world example: a veneer material with a CTE similar to tooth enamel showed fewer marginal gaps after 5000 thermal cycles between 5°C and 55°C.
8) Surface hardness and filler content
Why this matters: hardness and fillers control scratch resistance, polishability, and wear.
- Measure it: hardness (Vickers or Knoop) numbers and percent filler by weight or volume tell you what to expect.
- Real-world example: a composite with 70% filler by weight had higher hardness and kept its polish after simulated brushing.
Practical checklist you can use when choosing a resin:
- Read the data sheet for Young’s modulus, flexural strength (MPa), fracture toughness, and CTE.
- Check wear and fatigue test results—look for wear volumes and cycles to failure.
- Note filler percent and hardness values for surface longevity.
- Verify creep strain and any thermal cycling outcomes.
- Match the numbers to the clinical need: for posterior load-bearing pieces, target >80 MPa flexural strength and millions of fatigue cycles; for esthetic anterior pieces, prioritize low wear and high polish retention.
Follow these steps and you’ll pick a resin that lasts longer and performs better in real patients.
Recommended Products

【385nm Light Source with Next-Level Printing Performance】 Compared to the common 405nm light source, the 385nm wavelength is shorter, offering lower penetration, reducing light scattering and preventing over-curing, significantly improving printing performance, even printing the transparent 3d models. Ideal for professionals who demand high precision and detail in their models.

Ultra Low Shrinkage Rate: Features an exceptional shrinkage rate of only 0.85-1.0% for superior dimensional accuracy
JET REPAIR P&L 4OZ FIB PINK 1223-FP by BND 000BX LANG DENTAL MFG CO
Manufacturing & Post-Processing Effects on Cytotoxicity and Cell Viability
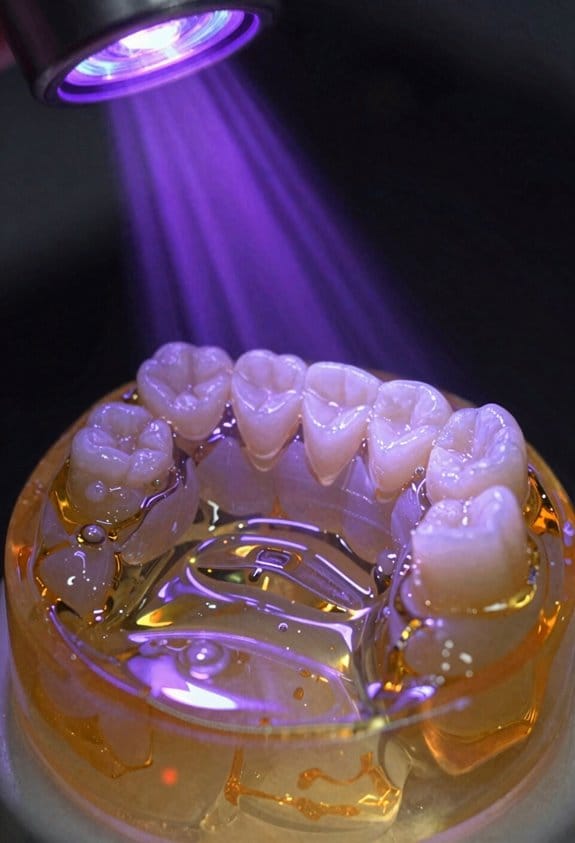
Here’s what actually happens when manufacturing and post-processing affect cell responses to a resin-based part: residual monomers and surface contaminants can leach out and damage nearby cells, lowering viability.
Why this matters: if your parts release leftover chemicals, nearby tissue can react badly within days.
How manufacturing choices change cytotoxicity
- Example: a 3D-printed dental crown cured at low intensity (e.g., 10 mW/cm² instead of 100 mW/cm²) can retain measurable monomers that reduce fibroblast viability by 20–40% in lab tests.
- If you want lower leachables, do this:
- Cure at the manufacturer’s recommended irradiance and time; for many dental resins that’s roughly 50–150 mW/cm² for 60–120 seconds per side.
- Improve layer adhesion by increasing overlap or reducing layer height; use 50–100 µm layers instead of 200–300 µm when surface chemistry matters.
- Clean prints immediately: rinse for 2 minutes in isopropyl alcohol (70–90%), then change the solvent and rinse another 2 minutes.
How post-processing reduces toxicity
- Why this matters: post-processing completes polymerization and removes surface residue, directly improving cell viability.
- Real example: a lab removed uncured resin from orthodontic appliance surfaces by soaking for 10 minutes in fresh IPA and then doing a 10-minute secondary UV cure; cell assays showed viability increased from 60% to 90%.
- Steps to follow:
- Solvent rinse: 2 min in fresh 70–90% IPA, replace solvent, rinse another 2 min.
- Secondary UV cure: 10–20 minutes at 100 mW/cm² using a 360–405 nm lamp.
- Optional heat treatment: bake at 60–80°C for 30–60 minutes to drive off volatiles.
Sterilization and its effects on cells and materials
- Why this matters: sterilization can either reduce or increase leachables depending on the method.
- Example: autoclaving a resin splint at 121°C for 15 minutes caused surface crazing and raised eluted monomers by ~15% compared with gas sterilization.
- Practical guidance:
- Check resin docs for compatible methods; if they allow autoclave, use 121°C/15–20 minutes. If not, use low-temperature options.
- Prefer gas plasma or ethylene oxide for temperature-sensitive parts; avoid gamma if the product warns against it.
- Re-test surface chemistry after changing sterilization methods—measurements like FTIR or simple cytotoxicity assays can catch problems.
Putting it into a validated workflow
- Why this matters: a repeatable sequence reduces patient risk and makes results predictable.
- Example workflow used in a dental lab:
- Print at 50–100 µm layers using recommended exposure (e.g., 75 mW/cm²).
- Rinse: IPA 2 min, fresh IPA 2 min.
- Secondary UV cure: 15 min at 100 mW/cm².
- Heat treat: 70°C for 30 min.
- Sterilize: gas plasma cycle per device instructions.
– Validate by running a simple cell viability assay on representative parts after step 5; record results and only use workflows that meet your lab’s acceptance criteria.
Quick closing practical tip: always log the exact exposure, solvent times, UV energy, and sterilization cycle for each batch so you can trace back any cytotoxicity issue.
Recommended Products

【Excellent Quality】The main parts of dental lab equipment are made of high quality parts, with less wearing parts and long service life,and it has low noise and good sealing, no sand leakage and no flying sand when working, which protects the operator's health.

【Dual Exhaust Vacuum System】Double vacuum opening design, powerful dust removal, strong suction and comprehensive coverage, quickly suction away fine dust generated by dental polishing and sandblasting, keeping the operating environment clean.

Complete 10-PC Set: Includes mirror, probe, tweezer, interdental & peri scalers, pocket depth measuring probe, and curettes for a comprehensive dental hygiene kit.
Clinical Use Cases: Dental vs. Medical Application Boundaries
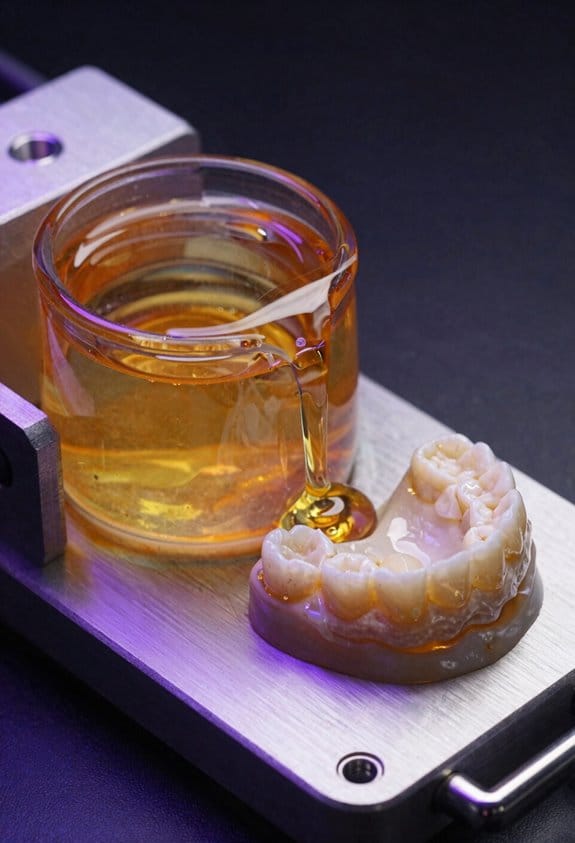
If you’ve ever wondered why dental and medical resins aren’t interchangeable, this is why.
Why it matters: using the wrong material can cause poor fit, color mismatch, or regulatory rejection.
Dental vs. medical — what’s different?
– Dental parts sit in saliva, touch hard enamel, and stay in place for months to years; you need materials with low polymerization shrinkage (≤1% volumetric), ceramic or glass fillers for wear resistance, and pigments that match tooth shades (A1–D4).
Example: a 3D-printed provisional crown that must resist chewing for 6–12 months and match adjacent teeth.
– Medical parts often touch skin or mucosa briefly, or form external devices; you prioritize sterilizability (autoclave at 121°C or EtO compatibility), impact resistance (Izod or ASTM D256 values), and can accept different plasticizers or additives that would discolor a tooth.
Example: an external splint printed for ER use that will be sterilized and discarded after 72 hours.
How to pick for contact type and duration
Why it matters: the contact type and time determine biocompatibility tests and performance specs.
Steps:
- Define contact type: skin, mucosa, tooth, blood-contact.
- Define duration: limited (<24 hours), prolonged (24 hours–30 days), or permanent (>30 days).
- Match standards: ISO 10993-1 for biological evaluation, EN ISO 6872 for dental ceramics, or FDA 510(k)/PMA paths for implants.
Example: You’re printing a night guard that contacts teeth and mucosa overnight for years; choose a dental-grade resin with documented ISO 10993 cytotoxicity tests and wear data.
Formulation priorities by application
Why it matters: different priorities change resin chemistry and finishing steps.
– Dental: prioritize low shrinkage, filler load (20–70 wt%), polishability, and color stability (ΔE<3 over 6 months saliva soak).
Example: a composite denture base with 50% ceramic filler polished to a mirror finish.
– Medical (external): prioritize sterilization tolerance, toughness (tensile strength >30 MPa), and chemical resistance; color stability is secondary.
Example: an external brace printed with a tough resin that withstands EtO gas sterilization.
– Emergency/temporary medical parts: prioritize rapid printability and basic biocompatibility (short-term ISO 10993 tests), but confirm any regulatory allowances for emergency use.
Regulatory quick checklist
Why it matters: approvals determine what you can legally use on patients.
Steps:
- Identify intended use and risk class (low, medium, high).
- Find the applicable standard or regulatory pathway (FDA 510(k), CE MDR Class IIa/IIb, or specific dental device rules).
- Compile test data: cytotoxicity, irritation, sensitization, and mechanical tests tied to intended duration and contact type.
Example: For a Class II dental appliance, you’ll need a 510(k) with supporting bench data and biological evaluation matching the device’s longest expected contact duration.
Practical tips for your workflow
Why it matters: small process changes prevent failures.
- Post-cure per manufacturer: follow recommended time and UV intensity; undercure raises leachables.
- Polish dental surfaces to a gloss Ra <0.2 µm to reduce plaque retention.
- Validate sterilization compatibility with a sample batch before clinical use.
Example: You print 10 surgical guides; test one through your sterilization cycle and check dimensional change ≤0.1 mm before releasing the rest.
If you follow these concrete steps—define contact and duration, match standards, and validate materials and processes—you’ll pick the right resin for dental or medical use.
Practical Checklist: Choosing the Right Biocompatible Resin
Before you choose a biocompatible resin, understand that your pick affects patient safety and device performance in measurable ways.
1) How do I confirm regulatory compliance?
Why it matters: regulations show the resin has been tested for safety.
Steps:
- Look for ISO 10993 parts relevant to your use (e.g., ISO 10993-5 for cytotoxicity, ISO 10993-10 for irritation).
- Check for USP <87>/<88> (often called USP Class VI) reports if the resin maker provides them.
- Ask the supplier for test dates and lab accreditation (e.g., ISO/IEC 17025).
Example: a dental lab buying a temporary crown resin should request ISO 10993-5 and -10 reports and verify the test lab is ISO/IEC 17025 certified.
2) What mechanical properties should I check?
Why it matters: mechanical values tell you if the part will survive its intended use.
Steps:
- Request flexural strength (MPa) and elastic modulus (GPa).
- Ask for abrasion or wear rate (mm3/N·m) if the part contacts other teeth.
- For crowns/bridges, prefer fillers like zirconia that raise flexural strength above ~100 MPa.
Example: choose a resin with flexural strength ≥100 MPa and abrasion rate <0.5 mm3/N·m for temporary crowns.
3) Will it print on my SLA/DLP machine?
Why it matters: incompatible resins cause failed prints and wasted material.
Steps:
- Confirm wavelength compatibility (typically 385–405 nm) with your printer.
- Check recommended layer thickness and minimum feature size from the resin data sheet.
- Compare viscosity: low-viscosity resins (≤200 cP) tend to settle and recoat reliably on most systems.
Example: if your printer uses a 405 nm lamp and prints 50–100 µm layers, choose a resin rated for 405 nm and that layer range.
4) How do I assess color stability and aesthetics?
Why it matters: discoloration affects temporary restorations and visible parts.
Steps:
- Ask for yellowing data after accelerated UV exposure (e.g., ΔE after 1000 hours).
- Check if the resin includes UV stabilizers or pigments that resist ΔE >2.
- For anterior temporaries, test a composite cure and polish sample under the clinic light.
Example: request a sample that shows ΔE <2 after 1000-hour UV aging for long-term temporaries.
5) What about cytotoxicity and post-processing?
Why it matters: curing and cleaning change biological response and safety.
Steps:
- Get cytotoxicity results (ISO 10993-5) for parts after the vendor’s recommended post-curing.
- Follow a numbered post-processing protocol: 1) rinse in isopropyl alcohol 3–5 minutes, 2) air-dry 1–2 minutes, 3) post-cure under specified time/intensity.
- Verify residual monomer levels or elution data if available.
Example: use the supplier’s protocol of 3-minute IPA rinse and 10-minute LED post-cure at 60 mW/cm2, then check the part for tackiness.
6) How do I match resin to intended use?
Why it matters: certifications are use-specific and you must not overextend a material.
Steps:
- Identify intended contact: intraoral mucosa, skin contact, or short-term implant (≤30 days).
- Match that use to the resin’s certified claims on the data sheet.
- If the resin lacks the exact certification, request a risk assessment from the supplier before use.
Example: do not use a skin-contact-only resin for intraoral parts; choose one explicitly certified for intraoral mucosal contact.
Final practical tip: keep a short checklist file with the vendor name, test report numbers, printer compatibility (wavelength and viscosity), and your exact post-processing steps so you can repeat results reliably.
Recommended Products
Ultra Low Shrinkage Rate: Features an exceptional shrinkage rate of only 0.85-1.0% for precise dental applications

Fast Wet Out: ISO Polyester Tooling/ Laminating Resin ensures quick wet out, enhancing ease of use and efficiency in your projects, perfect for marine, industrial, and mold making applications.

【ULTRA-LOW SHRINKAGE & HIGH PRECISION】 Linear shrinkage rate 0.85%–1.05%; delivers consistent accuracy for dental restorations, implant cases and full‑arch long‑bridge patterns
Frequently Asked Questions
Can Biocompatible Resins Trigger Allergic Reactions Years After Exposure?
Yes — like an echo in time, I can confirm delayed hypersensitivity may appear years later; immune memory can trigger reactions after initial tolerance, so long-term monitoring and testing matter to catch late allergic responses.
How Do Resins Degrade in Oral Microbiome Environments Long-Term?
They slowly break down: I observe biofilm mediated degradation and enzymatic hydrolysis weakening polymers, causing surface roughening, leaching oligomers, reduced mechanical strength, and increased microbial colonization unless materials and post-processing resist hydrolysis and biofilm formation.
Are 3d-Printed Resin Particles Safe if Inhaled During Finishing?
Not really safe: I’m worried, yet pragmatic—particle inhalation can cause respiratory irritation and long-term nanoparticle deposition; I always treat finishing as occupational exposure, using masks, ventilation, and wet finishing to minimize risk.
Can Residual Monomers Affect Breastfeeding or Reproductive Health?
Yes — I worry residual monomers can pose endocrine disruption risks and potentially affect lactation impact; I’d recommend minimizing exposure, ensuring full post-processing, and consulting clinicians if you’re pregnant or breastfeeding to limit reproductive health concerns.
What Environmental Disposal Protocols Exist for Cured Dental Resins?
Like a guarded secret, I follow hazardous waste protocols: cured dental resins go to designated disposal, not landfill, due to recycling challenges; I label containers, use licensed waste haulers, and document chain-of-custody every time.