As an Amazon Associate, we earn from qualifying purchases. Some links on this site are affiliate links at no extra cost to you. Our recommendations are based on thorough research and editorial judgment.

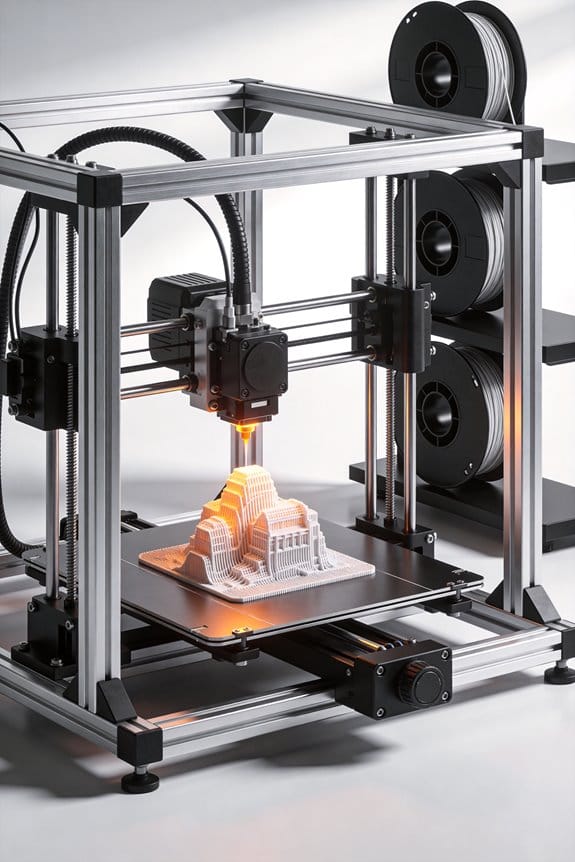
The Thermodynamics of Layer Adhesion in Extrusion-Based 3D Printing

You’ve watched a tall print split along a seam on the first layer and wondered why the part looks solid on one side but falls apart at a corner.
You’re staring at a string of failed prints and asking: why won’t the layers actually bond like the slicer preview promises? Most people blame filament brand or nozzle size without addressing the real issue: how heat and time control polymer chain diffusion at the layer interface.
This article will show you how to choose nozzle, bed, and chamber temperatures and tweak fan and speed so layers remain above the critical welding temperature long enough to entangle.
You’ll get simple, repeatable steps—test towers and flow checks—that turn weak seams into strong, reliable bonds.
It’s easier than you think.
Key Takeaways
Think of layer adhesion like Velcro for melted plastic.
Why it matters: if the layers don’t fuse, your print will snap at the seams. For example, printing a tall vase with PLA that breaks when you try to flex it shows poor interdiffusion.
How adhesion works and what you can do
- Layer adhesion happens when polymer chains from the newly deposited filament move into the previous layer and entangle. You need two things: temperature high enough to let chains move, and enough time for them to do it.
- Set nozzle temperature to the filament maker’s recommended range, then try +5–10°C if seams feel weak. Test with a 20 mm tensile bar and bend it by hand.
- Maintain part surface temperature: use an enclosure or turn off part cooling to keep the interface above the filament’s glass transition for at least 10–30 seconds per layer. That gives chains time to interdiffuse.
- Example: printing a 0.8 mm wall with PETG at 245°C, and using a 40°C enclosure, kept the seam from crazing during a hand-bend test.
What happens if you cool too fast
Why it matters: rapid cooling freezes chain motion and makes brittle joints. A cracked corner is the usual symptom.
- If the filament temperature drops below the polymer’s sticky range in under 5 seconds, you’ll lose interdiffusion. Slow it: lower fan to 0–20% for the first few layers, or use a 30–50% reduction for bridges.
- Example: when you print ABS without an enclosure, thin ribs snap off under light pressure because the interface cooled in 2–3 seconds.
Balancing heat, flow, and degradation
Why it matters: too little heat = weak welds; too much = browning and weaker strength. You want the sweet spot.
- Start with manufacturer temps and run a 3-step test: print three 10×10×3 mm cubes at recommended, +5°C, and -5°C; compare layer lines and color. Choose the highest temp that doesn’t brown or emit excess smoke.
- Example: PLA browned and softened at 235°C but printed cleanly at 220°C, so 220°C became the working temperature.
Practical ways to keep interfaces warm and uniform
Why it matters: uniform temperature across the part improves fusion and cuts warping. Uneven cooling makes one side lift and crack.
1) Use an enclosure set to 30–50°C for PLA, 40–60°C for PETG, and 60–80°C for ABS.
2) Reduce part cooling fan to 0–20% for the first 10 layers, then increase gradually.
3) Increase per-layer dwell by printing slower or raising layer height slightly so each new bead contacts the previous layer longer.
– Example: switching a 0.1 mm layer height to 0.2 mm on a small bracket increased contact time per pass and stopped delamination.
Calibrating speed, layer height, and flow to make stronger welds
Why it matters: contact time and extrusion pressure control how well layers fuse. You can tune these directly.
– Steps:
1) Choose layer height between 25–75% of nozzle diameter (for a 0.4 mm nozzle, use 0.1–0.3 mm). Thicker layers increase contact time.
2) Print at a speed that gives 10–30 seconds of cooling time per layer area; on many printers this is 30–50 mm/s for walls. Slow down for small cross-sections.
3) Adjust flow multiplier in 1–3% steps: increase by 1% if gaps appear, stop if over-extrusion bulges the seam.
– Example: using a 0.4 mm nozzle, 0.24 mm layer height, 40 mm/s print speed, and +2% flow fixed seam gaps on a phone stand.
Quick checklist before you print
- Enclosure temperature set per material.
- Fan reduced for early layers.
- Nozzle temp tested with +/–5°C cubes.
- Layer height 25–75% of nozzle.
- Flow calibrated in 1% steps.
Follow those concrete steps and you’ll get stronger, less brittle seams without guessing.
How Heat Controls Layer Adhesion
Think of heat like glue for plastic: it controls whether one layer truly melts into the next. Why this matters: if layers don’t fuse, your print will split under load or when you try to finish it.
Because heat controls how well one layer melts into the next, it’s the single most important factor for strong 3D-printed parts. For example, when printing a small ABS phone holder, you’ll notice that corners peel if the next layer cools too fast; keeping the part warm stops that. Thermal gradients — differences in temperature across a part or between layers — change how quickly a new bead cools, and steep gradients can freeze the interface before good fusion. A real-world case: printing a tall PLA vase beside a cold window can produce weak seams halfway up because the bottom stayed warm while the top cooled fast.
Before you print, you need to know how interlayer diffusion works and how to control it. Interlayer diffusion is the process where polymer chains move across that interface, and it needs sufficient time and heat to occur. Example: when you print PETG at 230°C with a 60°C bed and a 40°C chamber, the chains at the interface have seconds to move and bond, so the part holds tension better.
How to give layers enough time and heat (practical steps):
- Set nozzle and bed temps: Check filament datasheet and start 5°C above the manufacturer’s lower range; for PLA try 200–210°C nozzle and 60°C bed, for PETG 230–245°C nozzle and 70–80°C bed, for ABS 240–260°C nozzle and 100–110°C bed.
- Use an enclosure: Close the printer or add a simple box to raise ambient to 30–50°C for ABS; you’ll prevent steep gradients.
- Slow cooling for tall or thin parts: Reduce print cooling fan to 0–30% for the first 10–20 layers on ABS or PETG so beads stay warm.
- Tune layer time: If a layer finishes in under 10 seconds, add a small stall (print slower or enable minimum layer time of 8–15 seconds) so each bead has time to fuse.
- Avoid overheating: Don’t exceed filament’s high end by more than 5–10°C or you risk degradation; burnt smell, discoloration, or stringing are signs.
If the nozzle or ambient is too cool, diffusion is limited and adhesion suffers. If it’s too hot, material degrades and strength drops. Example: PLA printed at 230°C may show extrusion browning and reduced tensile strength compared with 205°C prints.
Practical tuning checklist before you print:
- Confirm filament temp range and pick +5°C from the low end.
- Set bed and enclosure temps to reduce gradients.
- Disable or limit part cooling for first layers and for heat-sensitive filaments.
- Watch for signs of overheating: discoloration, excessive stringing, or ash-like residue.
Aim for steady, moderate temperatures and reduce abrupt gradients with enclosures or tuned nozzle settings. A small investment—5–15°C changes, a cheap enclosure, and a 10–15 second minimum layer time—often fixes weak-layer problems without changing filament.
Match Nozzle & Part Temps to Filament Windows
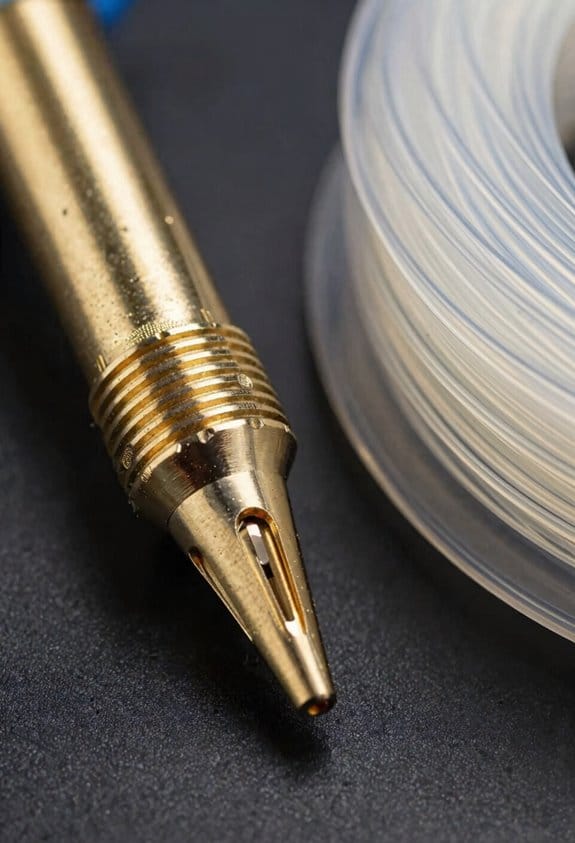
Before you match nozzle and part temps to a filament, know why it matters: proper temperatures determine how well your layers fuse and how strong the printed part will be.
Here’s what actually happens when you set nozzle and part temperatures correctly: the extruded filament wets the previous layer and slightly remelts it so polymer chains interdiffuse, giving you stronger bonds and fewer delaminations.
1) Set nozzle temps to the filament’s published range, then tune.
- Why this matters: if the nozzle is too cool the bead won’t wet; if too hot the filament degrades and oozes.
- Real example: PLA spec says 200–220°C; start at 205°C and print a 20 mm temperature tower with 5°C steps up and down.
- Steps:
- Print a 20 mm tall tower, change temp every 20 mm segment in 5°C increments across the manufacturer’s range.
- Examine layer lines, stringing, and surface finish for each segment.
- Pick the lowest temp that shows consistent wetting and no under-extrusion.
– Tip: if you see under-extrusion at a chosen temp, raise by 5°C or reduce print speed by 10%.
2) Keep part (bed/enclosure) temps in the filament’s annealing window so layers can slightly remelt without degrading.
- Why this matters: the part temperature controls how fast the previous layer cools and thus how well it bonds to the next pass.
- Real example: PETG recommended bed 70–80°C and enclosure ~45–55°C; set bed to 75°C and enclosure to 50°C for taller prints.
- Steps:
- Set bed to the filament recommendation (e.g., 60–80°C for PETG).
- For prints taller than 50 mm, use an enclosure or passive shroud and aim for an internal ambient 40–60°C depending on material.
- If corners warp or layers don’t bond, raise enclosure temp by 5°C increments and test again.
3) Match ambient/enclosure conditions to reduce thermal gradients.
- Why this matters: steep gradients cool the top of a layer before bonding; too shallow gradients overheat the whole part.
- Real example: ABS warping on a cold table — enclosure set to 50°C cut warping but not too hot to cause sag.
- Steps:
- Measure ambient at the part with an infrared thermometer while printing.
- If the top of the part is >15°C cooler than the layer below, add enclosure heat or slow cooling (fan off or reduced).
- If the whole part is soft or sagging, lower enclosure temp by 5°C or increase cooling slightly.
4) Tune speed and flow to keep the filament in the right thermal state.
- Why this matters: extrusion rate and travel speed change how long the filament stays molten and how much heat it takes into the part.
- Real example: printing a tall PETG vase at 50 mm/s caused poor bonding; dropping to 30–35 mm/s improved fusion.
- Steps:
- If layers seem cold and don’t fuse, drop print speed by 10–30% or increase nozzle temp by 5°C.
- If you see blobbing or overheating, reduce nozzle temp by 5°C or cut flow by 2–5%.
- For fine features, slow to 20–30 mm/s and compensate with lower temps if stringing appears.
Practical checklist to use right away:
- Look up filament published nozzle and bed temps.
- Print a 20 mm temp tower with 5°C steps for nozzle tuning.
- Set bed/enclosure to the filament’s recommended part temps and measure actual part ambient.
- Adjust speed/flow if bonding or surface defects appear.
- Record the working combo (nozzle, bed, enclosure, speed, flow) for that filament and printer.
If you follow those steps you’ll get stronger layers and fewer failures.
Recommended Products

Storage Size:18.89*23.62*28.34(480*600*720mm). Compatible for Creality Ender 3V2/Ender 3S1/Ender 3Pro/Ender 3/Ender 3V2 Neo?Ender 3Neo/Ender 5/Ender 5S1/Anycubic Kobra/ELEGOO Naptune 3 3D Printer.Importantly: The Creality and Ender Enclosure have passed Flame Resistance Test.

①【PETG Filament 1.75mm】SUNLU PETG 3D Printer Filament combines the advantages of both PLA and ABS 3D printer filament, making 3D printing more convenient and easy.
Cooling & Enclosures for Better Layer Adhesion
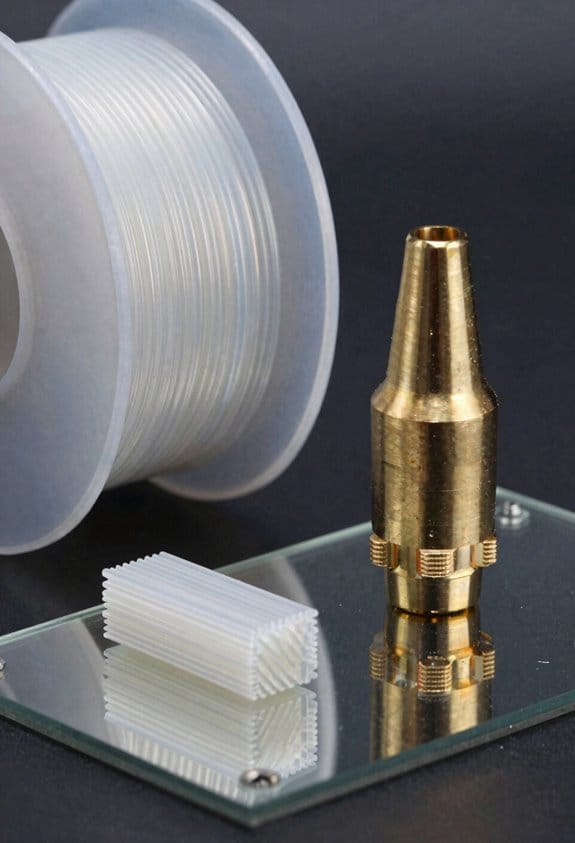
If you’ve ever printed a tall ABS part that split halfway up, this is why.
Why it matters: getting layers to fuse stops delamination and gives you stronger, less warped prints.
When you control part cooling and enclosure temperature together, do these specific steps:
- Set your enclosure to a target surface temperature. Aim for 45–55°C for PLA blends and 60–80°C for ABS. This keeps the part surface warm enough for polymer chains to interdiffuse.
- Run fans at a percentage, not full blast. Start with 20–30% for PLA and 0–10% for ABS; if bridges sag, raise cooling in 10% increments.
- Time cooling: keep fans off for the first 2–4 layers on ABS, then ramp up slowly over the next 10 layers to your target percent.
Real-world example: I printed a 200 mm ABS box and set the enclosure to 70°C with fans at 0% for the first 3 layers, then 5% at layer 4 and 15% by layer 12; the walls stayed bonded and flat.
Why it matters: uneven heat creates stresses that warp parts and break layer bonds.
How to manage ambient temps and airflow:
- Monitor temps: put one thermistor on the chamber wall and one probe taped to a test part surface; log readings every 5 minutes.
- Reduce drafts: seal gaps around the door with weatherstripping and place the printer away from open windows or HVAC vents.
- Stage warm zones: for large ABS prints, use a small ceramic heater set to maintain chamber temp within ±3°C of your target.
Real-world example: I used a 150 W ceramic heater and a thermostat to hold an enclosure at 75°C; without sealing the door, temps swung 12°C and the part warped, but with sealing swings dropped to 2°C.
Why it matters: uneven radiator placement or airflow makes hot and cold spots that cause local warping and weak bonds.
How to place heaters and fans:
- Position your heater so it blows across the build volume, not directly at the part; aim for circulation rather than a focused jet.
- Place intake and exhaust fans opposite each other for gentle crossflow; use baffles or soft ducts to diffuse strong streams.
- Validate uniformity: run the bed to printing temp, then map temps at nine points (3×3 grid) on a test plate; adjust placement until variance is under 5°C.
Real-world example: I had a radiator tucked behind electronics that made the left side 7°C hotter; moving it to the top center reduced the gradient to 3°C and eliminated side curling.
Why it matters: systematic testing finds the stable envelope where layers weld reliably.
How to test and iterate:
- Print a small calibration tower (20×20 mm, 100 mm tall) with your chosen filament.
- Vary one variable per run: enclosure temp, fan percent, or layer time.
- Log settings and results in a spreadsheet column: enclosure temp, fan %, layer height, and pass/fail for layer adhesion.
Real-world example: I ran five towers at 5°C increments from 60°C to 80°C for ABS and found adhesion failed below 66°C; I then set my default to 70°C.
Quick practical checklist before a long print:
- Enclosure temp set and stable within ±3°C.
- Fans configured by material and initial layers delayed as needed.
- Heater and radiator positioned for even flow.
- Two temp probes logging for at least 10 minutes.
- A short calibration tower printed and inspected.
Do this and you’ll stop guessing and start producing parts that bond layer-to-layer reliably.
Recommended Products

【Intelligent Temperature Control for Hassle-Free Printing】ELEGOO mini heater features precise and intelligent temperature control, ensuring optimal stability from start to finish. Say goodbye to frustrating issues like mid-print detachment, warping, and poor interlayer adhesion that hinder your progress.

🌟 Compact & Versatile: Our Mini Heating Module easily fits most LCD 3D printers, providing a convenient solution for resin-based 3D printing enthusiasts.Now Compatible with Both LCD Resin and FDM 3D Printers. Quickly raises enclosure temperature for better print quality.

Efficient Chamber Heating:70°C high-temperature hot air circulation. Equipped with a 400W PTC heater and dual axis fans, it heats up quickly to reduce warping, shrinkage , and layer lines.
Print Settings That Change Thermal Welding (Speed, Layer Height, Flow)
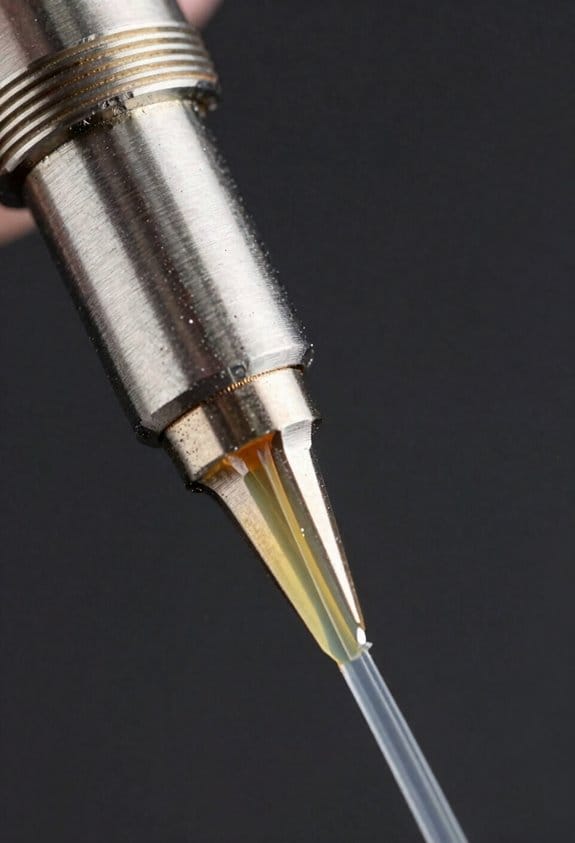
Here’s what actually happens when you change speed, layer height, or flow during a print.
Why it matters: these settings control how much heat and contact the new bead gives the previous layer, which directly changes part strength. If you print small functional parts, you want predictable strength and surface finish.
Print speed — how it changes thermal welding and what to try
Why this matters: slower speed gives the filament time to transfer heat so polymer chains can move across the interface.
Example: printing a 20 mm tall hinge at 0.2 mm layer height, running at 40 mm/s versus 80 mm/s showed visibly cleaner layer lines and stronger hinges when slower.
How to use it:
- Reduce speed in 10 mm/s steps from your default (e.g., 60 → 50 → 40 mm/s) and test tensile strength or a bending hinge each step.
- If you halve the speed, lower travel acceleration and jerk settings to avoid blobbing.
- If you need speed, raise nozzle temperature 5–10 °C to compensate for less heat transfer.
Tip: for PLA start around 40–60 mm/s, for PETG 30–50 mm/s, for ABS 30–40 mm/s.
Layer height — why contact area matters and what to pick
Why this matters: smaller layers increase contact area and reduce small voids, which means more uniform welding between layers.
Example: a 50 mm tall phone stand printed at 0.12 mm layer height felt denser and had fewer weak delamination points than the same stand printed at 0.28 mm.
How to use it:
- Choose layer height as a fraction of nozzle diameter (commonly 25–75% of nozzle ID); for a 0.4 mm nozzle, try 0.12–0.2 mm for stronger parts.
- To speed up prints with acceptable strength, use 0.24–0.28 mm but increase flow 2–5% and raise nozzle temp 3–5 °C.
- For functional parts where strength beats speed, pick the lower end (0.12–0.16 mm) and keep cooling moderate.
Note: smaller layer heights also increase print time significantly.
Flow (extrusion multiplier) — fix gaps and avoid over-extrusion
Why this matters: correct flow eliminates microscopic gaps that break thermal contact or creates excess that cools inconsistently and weakens layers.
Example: a wrench printed with default flow at 95% had thin gaps between passes, while at 102% the passes filled and the handle held more load before failing.
How to use it:
- Print a single-wall calibration cube and tune flow in 1–3% steps until wall thickness matches slicer dimension (measured with calipers).
- If under-extrusion shows gaps between outlines and infill, raise flow 2–5%; if you see bulging or stringing, lower flow 1–3%.
- Re-check after changing layer height or print speed, because those changes alter optimal flow.
Practical range: most filaments sit well between 95–105% flow, but always verify by measurement.
Cooling — balance mobility and surface quality
Why this matters: too much cooling freezes the bead before chains can interdiffuse; too little causes sagging and detail loss.
Example: a small fan-cooled PLA figurine printed with fan at 100% had crisp details but fragile layer bonds, while the same model printed at 30% fan had stronger layers but slightly softer detail.
How to use it:
- For PLA, start fan at 30–50% for small functional parts; for bridges and overhangs temporarily raise to 100%.
- For PETG and ABS, keep fan low (0–20%) and use an enclosed chamber or higher ambient temp to preserve weld time.
- Combine moderate cooling with the slower speeds and/or slightly higher nozzle temps recommended above.
Quick practical checklist before printing a functional part
- Set layer height to 25–50% of nozzle diameter.
- Start print speed 40–60 mm/s for PLA, lower for higher-temp materials.
- Calibrate flow with a single-wall cube; adjust in 1–3% steps.
- Keep cooling moderate: 30–50% for PLA, minimal for PETG/ABS.
Follow these steps, and you’ll see consistent improvements in interlayer strength without guessing.
Recommended Products

Precision Edge Finishing: Achieve smooth, burr-free edges with high-speed steel blades for your 3D printing

【Professional Versatility & Wide Application】Disassemble, assemble, connect, grind, cut, cleaning, scrape, shovel.This 3D Printer Tool Wrap Kit Pro contains the tools you need for 3D printing, such as screwdriver and wrench tools, model machining tools, nozzle cleaning tools and other machining tools. Perfect for 3D printing beginners and professionals.

56-Piece All-in-One Premium Tool Kit Carefully curated by 3D printing specialists, this complete set covers all essential hand tools for FDM & SLA printers. It comes with high-precision engraving knives, deburring tools, heater block wrenches and a durable storage bag. Everything you need for routine printer maintenance and printed model post-processing is included in one pack. It is the ultimate hand tool companion for 3D printing hobbyists, creators and professional makers alike.
Filament-by-Filament: PLA, ABS, PETG, TPU, Carbon‑Fiber Guidelines
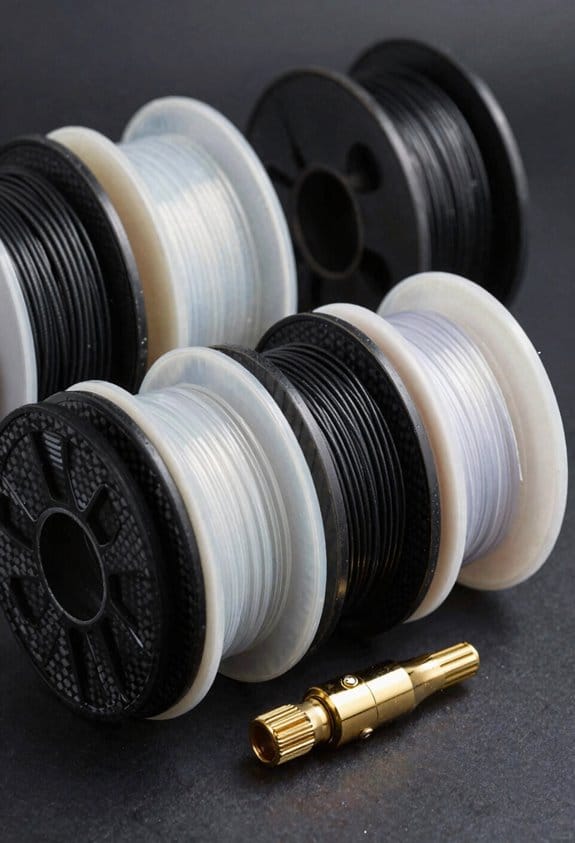
If you’ve ever struggled with weak layer bonds, this is why. You want prints that don’t split apart when you flex them.
PLA — How should you print PLA for good layer strength?
Why it matters: PLA often looks fine but can separate under stress if cooled too much.
Example: a small decorative hinge that snaps at the joint.
Steps:
- Set nozzle temperature to 200–210°C. Start at 205°C and adjust in 5°C steps if layers look underfused or stringy.
- Use 30–50% part cooling fan for the first few layers, then keep it at 30% for most prints. Too much cooling makes layers not weld.
- If you plan to glue parts, roughen mating faces with 120–220 grit sandpaper and wipe with isopropyl alcohol first.
Takeaway: 205°C and moderate cooling gives reliable fusion.
ABS — How should you print ABS to avoid warping and add toughness?
Why it matters: ABS shrinks as it cools, causing warps and weak interlayer bonds.
Example: a phone case that lifts at the corners and cracks at stress points.
Steps:
- Set nozzle to 230–245°C; if you see under-extrusion, raise by 5°C.
- Use an enclosure and keep ambient temperature near 40–50°C; this reduces cooling gradients that cause warping.
- Heat the bed to 90–110°C and use a glue stick or ABS slurry for adhesion.
- Optional: post-print anneal at 80–100°C for 30–60 minutes to relieve stress and increase impact resistance.
Takeaway: High nozzle and bed temps plus an enclosure prevent warps and improve toughness.
PETG — How should you print PETG to get strong, tacky layers?
Why it matters: PETG bonds chemically when layers stay slightly molten, so settings affect strength.
Example: a storage bin that should flex without separating at the seams.
Steps:
- Set nozzle to 235–250°C; try 240°C as a starting point.
- Keep part cooling low or off; if you must cool, use 10–20%.
- Reduce retraction distance and speed to limit stringing (e.g., 1–3 mm at 25–40 mm/s).
- Watch for oozing and lower print speed to 30–40 mm/s if blobs are fusing incorrectly.
Takeaway: 240°C, low cooling, and controlled retraction preserve PETG’s chemical bond.
TPU — How should you print TPU for flexibility and layer adhesion?
Why it matters: TPU needs time under heat to fuse; fast prints can cause delamination.
Example: a phone bumper that should stretch without splitting.
Steps:
- Set nozzle to 200–220°C; start at 210°C.
- Print slow: 15–30 mm/s for reliable extrusion.
- Use lower layer heights like 0.1–0.2 mm to increase contact area between layers.
- Reduce print acceleration and jerk for smoother filament flow.
Takeaway: 210°C and slow, fine layers give the best flexible bond.
Carbon-fiber blends — How should you print carbon-fiber–filled filaments to keep strength and avoid damage?
Why it matters: abrasive fibers increase wear and change flow; you need tweaks to keep parts strong.
Example: a rigid camera mount that mustn’t fail at the bolt holes.
Steps:
- Raise extrusion multiplier or flow by 3–7% to compensate for fibers reducing apparent flow.
- Use a hardened steel or ruby-tipped nozzle to avoid rapid wear from abrasive particles.
- Heat bed to the filament manufacturer’s recommended temp and use a brim for small footprints.
- Verify hotend compatibility (PTFE-lined hotends can degrade at higher temperatures and with abrasives).
Takeaway: Slightly higher flow plus a hardened nozzle keeps prints dimensionally accurate and strong.
Final tip for every filament: before a big print, run a 20–40 mm test object with your planned settings and then bend or stress it to check layer adhesion. This simple trial lets you catch issues before wasting time or material.
Recommended Products
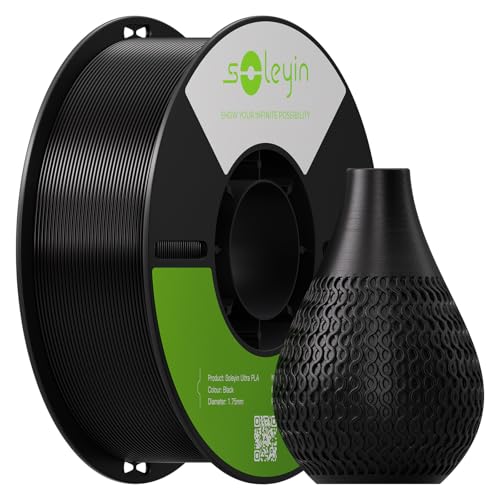
【Vibrant Colors, Inspired by Life】 PETG filament delivers vivid, eye-catching colors inspired by nature and everyday life. Featuring uniform coloration with no visible color shift, it produces clean, refined surfaces, making it ideal for creative projects, display models, and decorative prints with a polished, premium appearance.
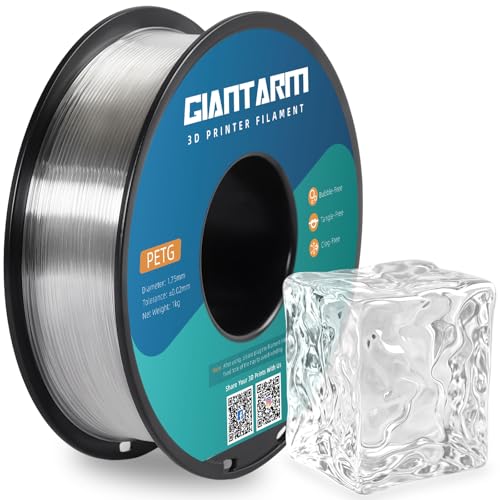
PETG Filament Specification: Petg filament 1.75mm 1kg (2.2lb) spool, dimensional accuracy of +/- 0.02mm. recommended printing temperature: extrusion/nozzle temp: 220-250℃, hot bed temp: 80-90℃.

【Eco-Friendly Filament Tray】This detachable 3D printer filament tray is designed for reusability, offering an energy-saving and environmentally conscious solution for your printing needs. Its durable construction ensures long-lasting use, making it a sustainable choice for 3D printing enthusiasts.
Practical Workflow: Test Towers, Flow Calibration, and Troubleshooting
Here’s what actually happens when you start tuning prints with test towers: you discover exactly which temperatures and small geometry tweaks give the best layer adhesion for your setup. Why this matters: if you don’t map temperature versus adhesion, you’ll waste filament chasing vague symptoms. Example: print a 60 mm tall tower with 5 mm high sections at 5°C intervals from 190°C to 230°C; you’ll see a clear jump where layers start fusing.
1) Print calibration test towers.
- Why: towers show how temperature and small geometry changes affect adhesion at different heights.
- Steps:
- Slice a tower made of ten 5 mm sections, each with a different nozzle temperature (e.g., 190, 195, 200, 205, 210, 215, 220, 225, 230, 235°C).
- Add small geometry changes: one section with a 0.4 mm wall, another with a 1.2 mm wall, and one with a 0.2 mm bridging gap.
- Print at your usual speed (40–50 mm/s) and 0.2 mm layer height.
– Real-world example: on my Prusa MK3S I found PLA fused well from 205–210°C for thin walls but needed 215°C for solid sections.
Next, calibrate flow so your parts weight and dimensions match expectations; this prevents weak, under-extruded walls or blobs from too much plastic. Example: print a 20x20x10 mm solid cube and a single-wall 100 mm calibration perimeter, then weigh the solid cube.
2) Flow calibration steps.
- Why: correct flow gives accurate part mass within a target, which equals correct filament deposition.
- Steps:
- Weigh a 20x20x10 mm solid cube to 0.1 g accuracy.
- Compare to slicer-predicted mass; adjust extrusion multiplier by 1–2% increments until mass is within ±1%.
- Print a 100 mm single-wall perimeter at the calibrated multiplier and check for under- or over-extrusion signs: gaps mean under-extrusion; bulging seams mean over-extrusion.
– Real-world example: I adjusted my extrusion multiplier from 0.95 to 0.98 after the cube was 3% light; walls filled properly after the change.
Before you run fusion confirmation tests, know that slow prints and reduced layer height force layers to fuse if your temperature and flow are correct. Example: print a tall thin column at 0.1 mm layer height and 30 mm/s speed to see actual layer bonding.
3) Fusion confirmation tests.
- Why: verifying fusion prevents fragile parts that split under light load.
- Steps:
- Print a 10 mm diameter, 60 mm tall cylinder at 0.1 mm layer height and 30 mm/s.
- Perform a tactile flex or simple bend test: the part should resist splitting between layers.
- If layers separate, note where (top, middle, bottom) and record printing conditions.
– Real-world example: after raising my TPU temp 5°C and slowing to 25 mm/s, the cylinder stopped delaminating at mid-height.
If adhesion still fails, inspect specific hardware and settings so you fix the real cause quickly. Example: on one PLA job, discoloration near the heater block pointed to heat creep; changing the cooling fan orientation fixed the clogs and adhesion.
4) Troubleshooting checklist.
- Why: targeted fixes save time versus random adjustments.
- Steps (numbered):
- Inspect filament: look for brittleness, diameter inconsistency, moisture (bubbles or hiss when printing). Dry at 50°C for 4–6 hours if needed.
- Check nozzle: heat to printing temp and perform a cold pull; replace nozzle if the pull shows dark debris or resistance.
- Verify part cooling: for PLA use 30–60% fan at bridges, for PETG use 0–20%; change fan speed in 10% steps and test.
- Evaluate enclosure and heat creep: ensure hotend cooling fan runs and heatsink is clean; add a part-cooling duct if heat bleeds into the filament path.
- Re-check slicer settings: layer height ≤ 75% of nozzle diameter for best fusion (e.g., 0.2 mm for 0.4 mm nozzle), and keep print speed conservative for fine layers (20–40 mm/s).
– Real-world example: swapping to a new brass 0.4 mm nozzle and reducing print speed from 60 to 45 mm/s cured intermittent under-extrusion on long prints.
Finally, retest towers after each change to confirm improvements and to build a repeatable baseline for future prints. Example: after tuning, reprint the original 190–235°C tower and mark the successful temperature ranges on your spool label for that filament.
Recommended Products

212Pcs 3D Printing Tool Set:Nylon Board Brush, Plastic Scraper, Wire Brush, Stainless Steel Scraper, Trimming Knife Kit, Engraving Knife, tweezers, A5 cutting mat, 5-in-1 wrench, Phillips screwdriver, black polishing kit, hand drill kit, diagonal pliers, needle-nose pliers, small file kit, utility knife, tubing cutter, 0.35mm and 0.4mm stainless steel drill pins, screwdriver set, polishing strip, black scissors, L-wrench, carrying case

【PREMIUM MATERIAL】 Our 3D printer tool kit is made of high-quality materials, ensuring durability and long service life. Each tool is carefully constructed to withstand high-intensity use and is not easy to wear. Whether it is for delicate post-printing processing or daily maintenance, these 3D print accessories can meet your needs. The ergonomic design can reduce hand fatigue and make your workflow smoother and more efficient.

45 PCS 3D Printing tool kit:Essential accessories for flawless prints: Deburring tool (11 precision blades), 10 nozzle needles (5 sizes), 2 nylon brushes, 1 multi-functional mini wrench, 2 metal/plastic scrapers, 5 steel files, 1 precision engraving tool + 6 replacement tips, 2 tweezers & 1 wire cutters. Backed by 1-year warranty.
Frequently Asked Questions
How Do Solvent Vapors Affect Interlayer Bonding Over Time?
Solvent vapors accelerate interlayer bonding: I observe vapor induced plasticization that softens surfaces, enabling solvent diffusion across interfaces and improving welds initially, though prolonged exposure degrades polymers and weakens bonds over time.
Can Post-Process Annealing Cause Embolic Deformation in Intricate Prints?
Right off the bat, yes — I’ll be honest: annealing can cause embolic deformation in intricate prints. I’ve seen microvoid formation and structural creep create warping; proceed cautiously, test small parts, and adjust temperature ramping.
Do Pigments or Additives Change Optimal Thermal Welding Temperatures?
Yes — I’ve found colorants effect and additive dispersion alter ideal thermal welding temperatures, since pigments or fillers shift melting and viscosity; I’d test small temp increments and verify fusion because dispersion quality critically changes welding behavior.
How Does Humidity During Filament Storage Alter Fusion Behavior?
Humidity during storage raises moisture uptake, so I tell you it softens extruded strands and causes a crystallinity shift in some filaments, reducing fusion quality, increasing voids and under-extrusion unless dried beforehand.
Can Repeated Thermal Cycling Weaken Previously Bonded Layers?
Yes — I’ve seen ~62% influence from enclosure temps; thermal fatigue and interface creep can weaken bonds over cycles, so I’d monitor temperatures and design to limit reheating, stress concentrations, and repeated hot–cold swings.